





Lighting / Learn by doing
Three-point Lighting explained simply
What is “Three-point Lighting”?
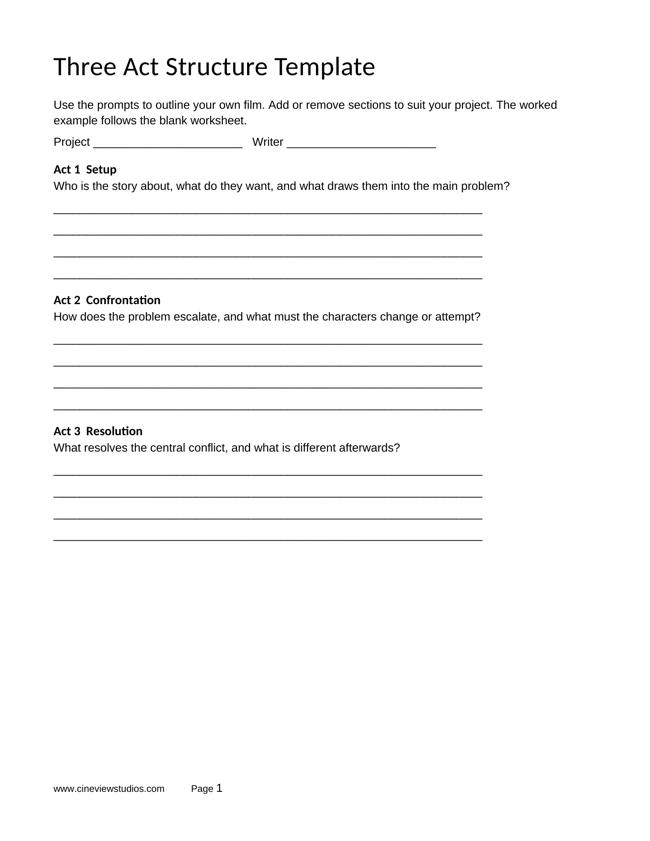
A common arrangement using key, fill and back or rim lighting to shape, soften and separate a subject.
- 01Key shapes
- 02Fill softens
- 03Rim separates
How do you use Three-point Lighting practically?
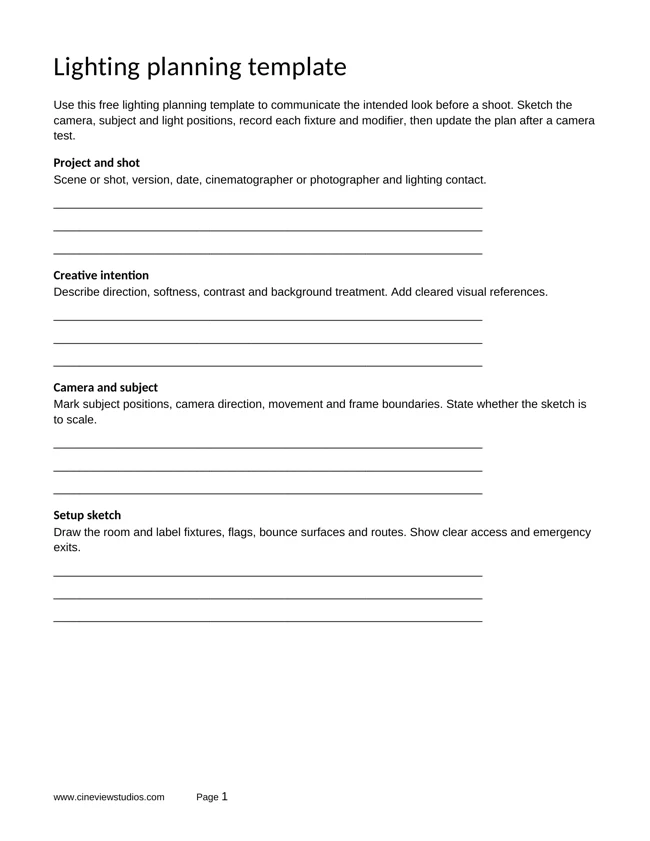
A small exercise
Start with key only, then add fill, then a rim light. Save a frame at each stage to see what each role contributes.
- Make a starting version and keep it so you can compare fairly.
- Try the change in the exercise. Keep unrelated choices steady where the exercise allows.
- Compare the result at the size your viewer will actually see. Write down what changed and whether it helped.
How does Three-point Lighting solve a problem?
It makes a multi-light portrait easier to build and diagnose one part at a time.
What can go wrong?
Three lights are not required for every good photograph. Extra lights can introduce conflicting shadows.
How do you turn the idea into a useful solution?
Start with the specific problem in your image or brief, try the exercise, and keep the version that meets that need. If the result is worse, return to the starting version and change one choice at a time.
Quick check: can you explain the three ideas in the diagram?
Key shapes → Fill softens → Rim separates. Explain how each relates to the exercise. Then compare the starting version with your result and choose the one that meets your brief.
Related video lesson
Portrait lighting — Adorama
This related lesson gives wider context for the topic. Camera menus and software versions may differ from yours.
Loading the player connects to YouTube. You can also watch the lesson on YouTube.Keep exploring
Try the idea in a studio shoot
Planning a portrait or product session? Use the glossary with our practical shoot guides, then check the studio facilities and send your confirmed requirements with an availability enquiry.