

CINEVIEW JOURNAL
Which Camera Settings Should You Use for Product Photography in a Hired Studio?
17/11/2026

There is no single set of camera settings that works for every product. Start with manual exposure, a low ISO and a test aperture, then check the whole product at the size your customer will see it. Set the shutter speed for the light you are using, rather than copying a number from a different shoot.
The useful question before photo studio hire is not “What settings do professionals use?” It is “Can I repeat an approved result across all the products on my shot list?” This guide is for still photographs of products, not video settings.
Start with one representative product
Bring a typical item and one difficult item to your first setup: perhaps a pale box with small lettering and a reflective bottle. Ask whoever approves the images to agree the angle, crop, background and required detail before you photograph the full range.
Write a short acceptance checklist: the front label is readable, the packaging has the right shape, important edges are visible and the crop leaves enough space for the shop template. These are more useful targets than a camera setting on its own.
Choose a starting point, then test it
Canon’s product photography guide recommends low ISO, manual control, RAW capture and a tripod. It suggests apertures in the f/5.6–f/11 range as starting points for product work. Treat these as a test range, not a guarantee that every part of your subject will be sharp.
- ISO: begin with a low setting suitable for your camera, then assess the test image rather than assuming a dark preview means you must raise it.
- Aperture: compare two test frames, for example f/5.6 and f/8. Inspect the nearest and furthest details that matter to the brief.
- File format: use RAW if your editing workflow supports it. Agree the final delivery format separately.
- Support: secure the camera on a suitable tripod for repeatable framing.
If a detail is still soft, recheck the focus point and camera position before changing several settings at once. Make one change, photograph the result and compare it with the approved frame.
Match the shutter setting to your lighting
Before a flash shoot, check the camera, trigger and flash manuals for compatible sync and shutter modes. Do not assume a shutter setting from another camera will work. Take a test frame and look for dark bands or uneven exposure before photographing stock.
With continuous lighting, test the shutter setting on the actual setup. Inspect for blur, flicker or bands, including on a large screen. A stationary package and a moving hand pouring a drink need separate tests. If you change from stills to video, build and approve a separate settings plan.
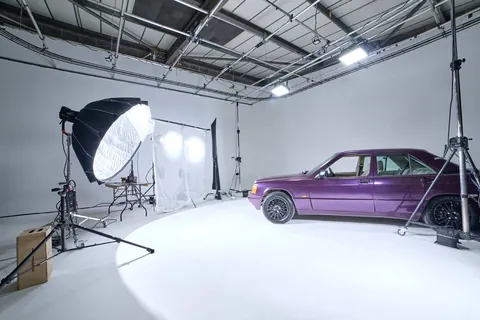
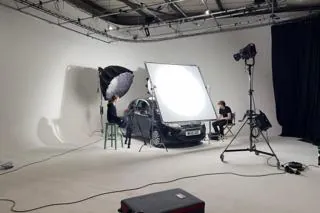
Our earlier product photography setup example documents one specific shoot. Use it to understand the arrangement, not as a universal camera recipe.
Make a settings record before the range changes
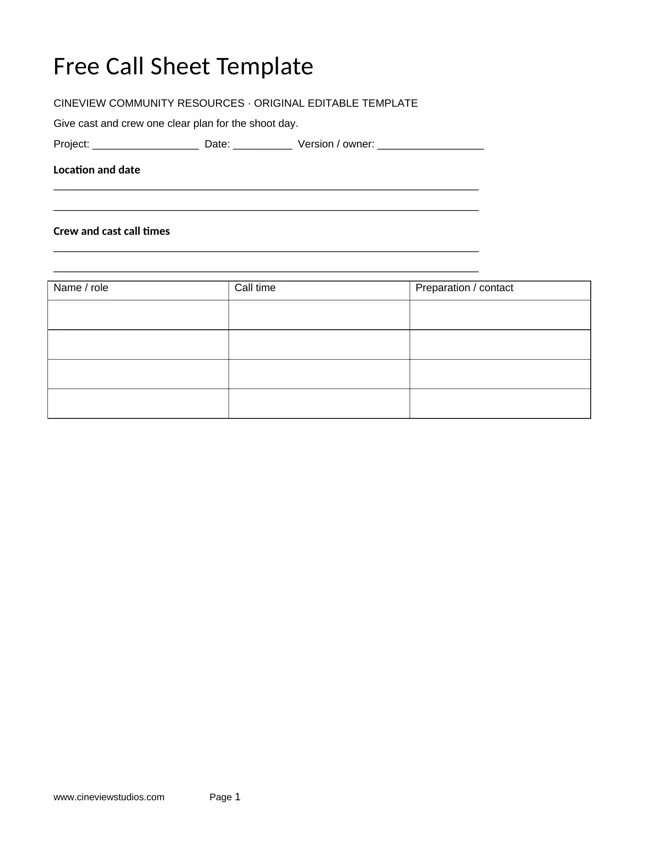
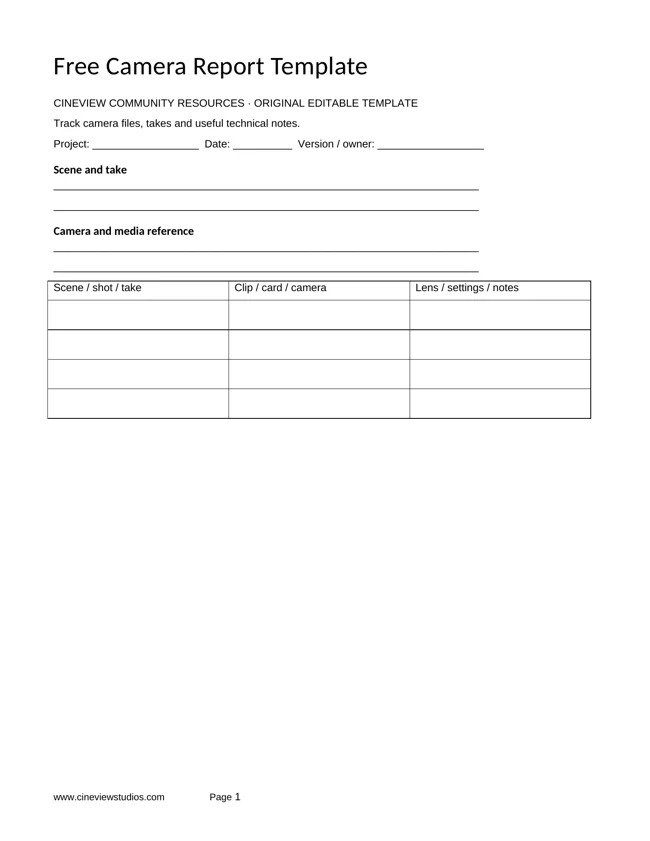
Keep a simple setup sheet with the approved frame, camera and lens, exposure settings, focus point, light positions and product position. Record the background and any reflectors too. Keep a reference frame for each genuinely different setup, rather than forcing a glossy bottle and a fabric pouch to use an identical arrangement.
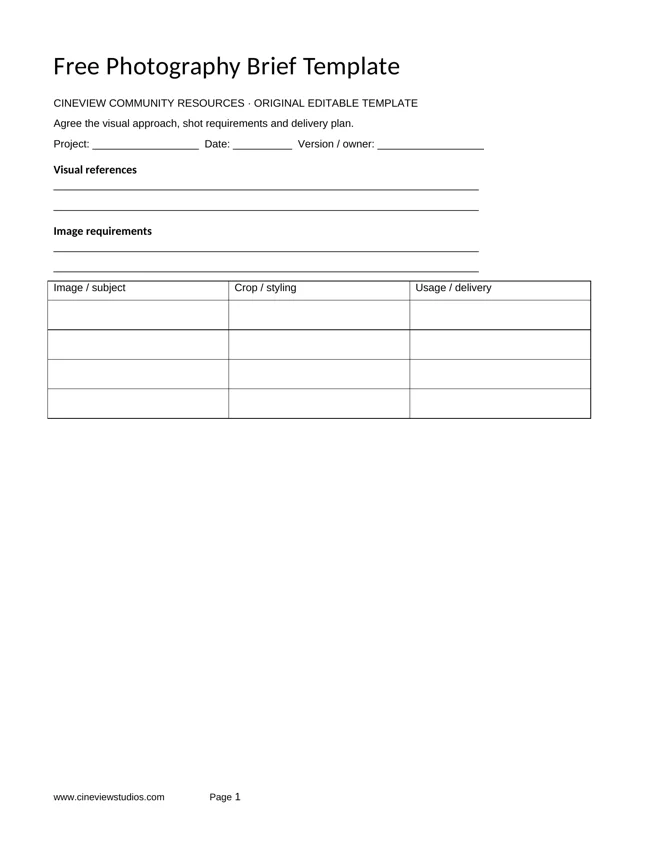
For repeat sessions, give the next photographer this sheet alongside the delivery brief. Reserve time to rebuild and approve the setup. Having last month’s numbers does not remove the need for a test.
What should you confirm with the studio?
For photography studio hire London, send your product dimensions, shot count and lighting plan before booking. Check Cineview’s equipment list, then confirm the exact equipment, compatibility, availability and any charges for your date. Do not assume photography studio hire includes every accessory you need.
Product-shoot studio questions
Does a small product need an infinity cove?
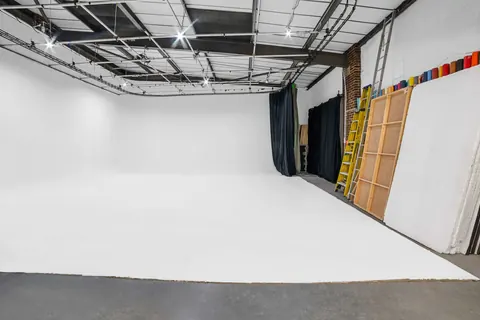
A tabletop background may meet a small-packshot brief. An infinity cove studio is a different option to assess when the shot needs a larger seamless setting. Choose the infinity cove for the planned framing, not because it sounds like an automatic upgrade.
Would a blackout studio be better?
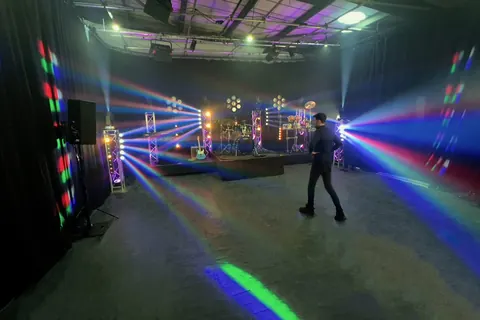
Consider blackout studio hire when controlling unwanted ambient light matters to your setup. Discuss your lighting plan before choosing a blackout studio; camera settings alone do not tell you which space to book.
How should I compare nearby or cheap options?
Results for “photo studio near me” or “photography studio near me” are only a shortlist. For studio hire London, compare the space, access, equipment and time needed to finish the shot list. A cheap studio hire quote is useful only after you know what it covers. Before you “hire photo studio” space from a listing, ask for the complete booking details.
What if I also need product video?
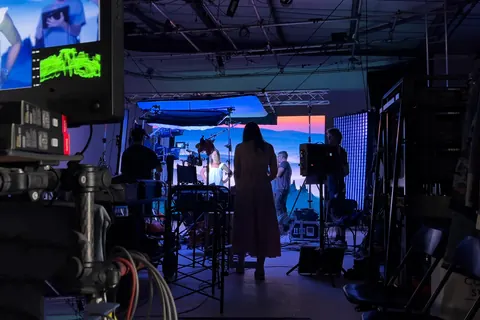
Tell the studio before booking. For film studio hire London, explain movement, sound and lighting needs as well as your still-photo requirements. Film studio hire needs its own equipment and setup checks; do not carry still-camera settings straight into recording.
The solution: approve one repeatable setup first
Choose one product, set a clear image target, test the camera with the actual lights and approve the result before working through the range. Save the settings and a reference frame, then retest whenever the setup changes. Send Cineview your product-shoot brief so the space and equipment can be checked before you book.