How to Light an Infinity Cove for Film and Photos
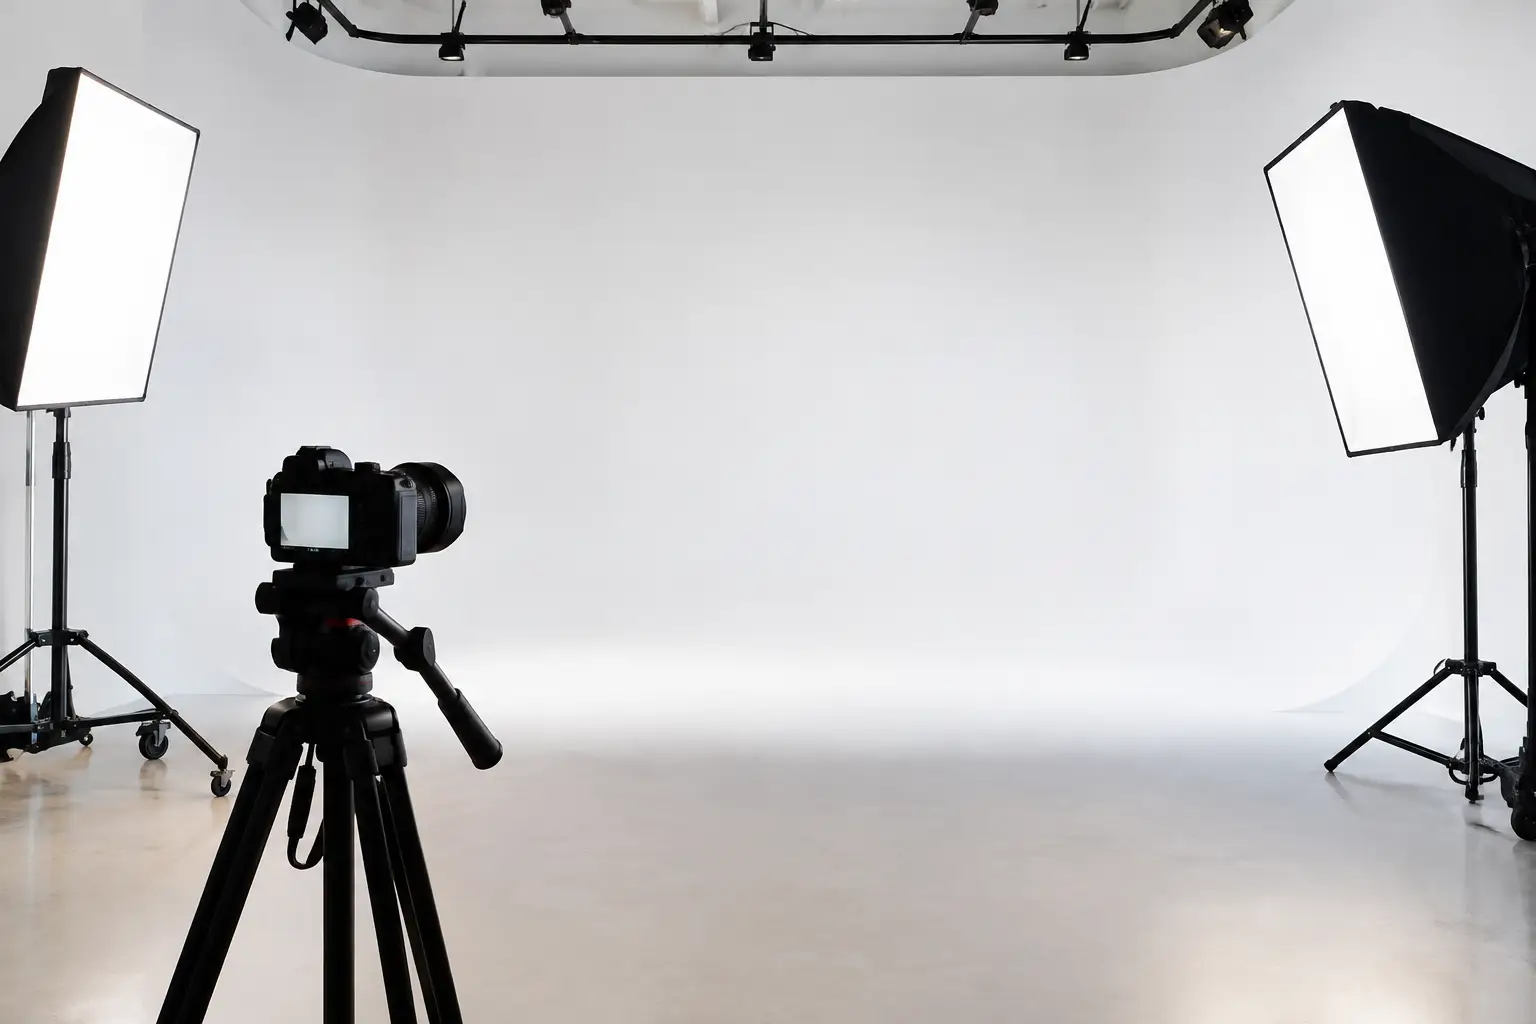
A white infinity cove only looks effortless when the lighting is doing a very deliberate job. The aim is not simply to make the space bright. It is to create an even, controllable background while keeping the subject shaped, separated and properly exposed. Knowing how to light an infinity cove starts with treating the cove and the subject as two different lighting tasks.
This matters on commercial shoots where the brief calls for clean packshots, polished fashion imagery, music video performance or a high-key campaign look. Flood the room indiscriminately and you will lose contrast, create unwanted bounce and spend more time repairing edges in post. Light it with a plan and you get a premium result straight from camera.
Start with the intended background value
Before bringing in a fixture, decide what the cove needs to be in the final image. Pure white, soft off-white, mid-grey and deep black are all possible outcomes from a white cove, but each demands a different exposure strategy.
For a clean white background, the cove normally needs to sit brighter than the subject. A practical starting point is around one to two stops over the key exposure on your subject. The exact level depends on the camera, lens flare, wardrobe, subject distance and how much clean detail you need around hair, transparent products or reflective surfaces. Pushing the background too far above the key can cause flare and wrap that strips shape from the subject.
If you want a light grey result, expose the cove closer to the subject or slightly under it. For darker grey, reduce or remove the dedicated cove light and control ambient spill. The white paint does not dictate the result – exposure does.
A black result is the exception that catches many crews out. A large white room is highly reflective, so making it black is about stopping light from reaching it. Flag the key, use grids where appropriate, increase the distance between subject and cove, and avoid aiming broad sources across the space.
How to light an infinity cove evenly
The cleanest white background usually comes from two matched fixtures placed left and right, aimed across the rear wall and curve rather than directly at the centre. This cross-lighting approach helps blend the fall-off and reduces the obvious hot spot that appears when a single source is fired straight into the back wall.
Use broad, controllable sources. LED panels, space lights, open-face heads through diffusion, or strobes in large softboxes can all work. The right choice depends on whether you are shooting stills, continuous video, high-frame-rate footage or a subject that needs significant output. A bright enough fixture is only useful if it can be controlled, softened and positioned safely.
Place the cove lights far enough from the rear wall to spread their beam, then adjust their height and angle until the curve carries a consistent value. Fixtures positioned too low can create a bright stripe at the base of the wall. Fixtures set too high may brighten the upper wall while leaving the sweep dull. The transition through the curve is where uneven lighting is most visible, so assess it through the camera rather than by eye.
Meter or monitor the wall in several places: centre, both sides, upper background and the sweep behind the subject. A waveform monitor is especially useful for video, while a light meter gives a quick baseline for stills. Do not chase laboratory-perfect uniformity if the shot does not require it. A gentle fall-off can look more natural and can save power, rigging time and usable floor space.
Keep the subject away from the sweep
Subject position is one of the biggest controls available to you. Move a model, presenter or product too close to the rear wall and background light will wrap around its edges, flattening form and making compositing or clean cut-outs more difficult. It also increases the chance of a visible shadow.
As a working principle, give the subject as much separation from the cove as the framing allows. On larger sets, several metres of distance provides far more control. On smaller product shoots, even a modest gap helps when combined with flags and a carefully directed key light.
Distance is also the simplest way to protect wardrobe detail. White garments against a white cove, for example, need enough edge definition to retain their shape without relying on aggressive post-production.
Build the subject light separately
Once the background is established, light the subject as though the cove were not there. This prevents the common mistake of allowing the white background to become the key source.
For people, begin with a key light that suits the creative direction: a large soft source for beauty and e-commerce, a more directional source for editorial fashion, or a harder key for a graphic campaign look. Add fill only where needed. The white cove will already return a considerable amount of light, particularly in a compact studio, so your fill requirement may be lower than expected.
For products, control reflection before chasing exposure. Glossy packaging, chrome and glass will show the studio environment in their surfaces. Large diffusion frames can create attractive reflection lines, while black flags provide the negative fill required to define edges. A product may appear properly lit to the eye but still look flat on camera because every side is reflecting the white room.
A rim or edge light can separate a dark subject from a bright background, but use it with restraint. If it is too strong, it looks artificial and can contaminate hair, shoulders or product edges. Often, better subject placement and tighter background control achieve the separation more convincingly.
Control spill, flare and shadows
Infinity coves are designed to remove the horizon line, not to remove every lighting problem. Their reflective surfaces make spill management a central part of the job.
Start by flagging any background fixture that is striking the subject directly. Barn doors, egg crates, cutters and floppy flags all have a place, depending on the size and direction of the source. Grids on softboxes are particularly useful when you need soft illumination but cannot afford it spilling across the set.
Watch the lens as carefully as the cove. A background that is too bright, or fixtures pointed towards camera, can produce veiling flare that lowers contrast across the whole image. Use a lens hood, adjust angles, introduce flags outside frame and avoid placing the brightest part of the background directly behind a dark, detailed subject unless that flatter look is intentional.
Shadows require their own check. A low shadow on the sweep may disappear with a slight repositioning of the subject or a change to the cove light angle. A hard shadow can be softened by enlarging the source or bringing the subject light closer, though this may change exposure and spill. There is no universal fixture position – the right solution depends on lens height, framing and the movement required in the shot.
Choose fixtures around the production, not habit
Continuous lighting makes sense when the crew needs to see the result live, work quickly with talent, or shoot video and stills in the same set-up. High-output LED fixtures also make colour adjustment and dimming straightforward, though dimming can alter output consistency depending on the unit.
Flash offers greater power efficiency for still photography and can hold a bright cove at low ISO and narrower apertures. It is often the better choice for fast-moving e-commerce or fashion teams shooting a high volume of images. The trade-off is that continuous modelling light may not accurately reveal every lighting issue at the final flash exposure.
For larger productions, an overhead lighting grid is a genuine workflow advantage. It keeps fixtures off the floor, preserves access for camera moves and reduces the need to rebuild positions between takes. At Cineview Studios, the available height, grid and in-house lighting and grip support make it practical to pre-rig a cove set-up before crew call, rather than losing the first part of the day to basic infrastructure.
Test through the final camera set-up
A cove can look bright and even in person but fail once the final lens, aperture and grade are applied. Shoot a proper test with the camera position, focal length, frame rate and picture profile you intend to use. Check exposure across the background, then inspect subject edges at 100 per cent before committing to the lighting plan.
For video, test movement as well as a static frame. A presenter stepping forward can move from clean separation into background spill surprisingly quickly. For photography, include the actual wardrobe, props and product finishes in the test. White trainers, translucent bottles and satin fabric can require a different balance from a straightforward portrait.
The best infinity cove lighting is rarely the brightest set-up. It is the one that gives the camera a clean background, gives the subject shape, and leaves the crew room to work. Build that control into the first lighting test, and the rest of the shoot becomes faster, more consistent and far easier to art direct.