How to Rig Overhead Lighting Safely on Set
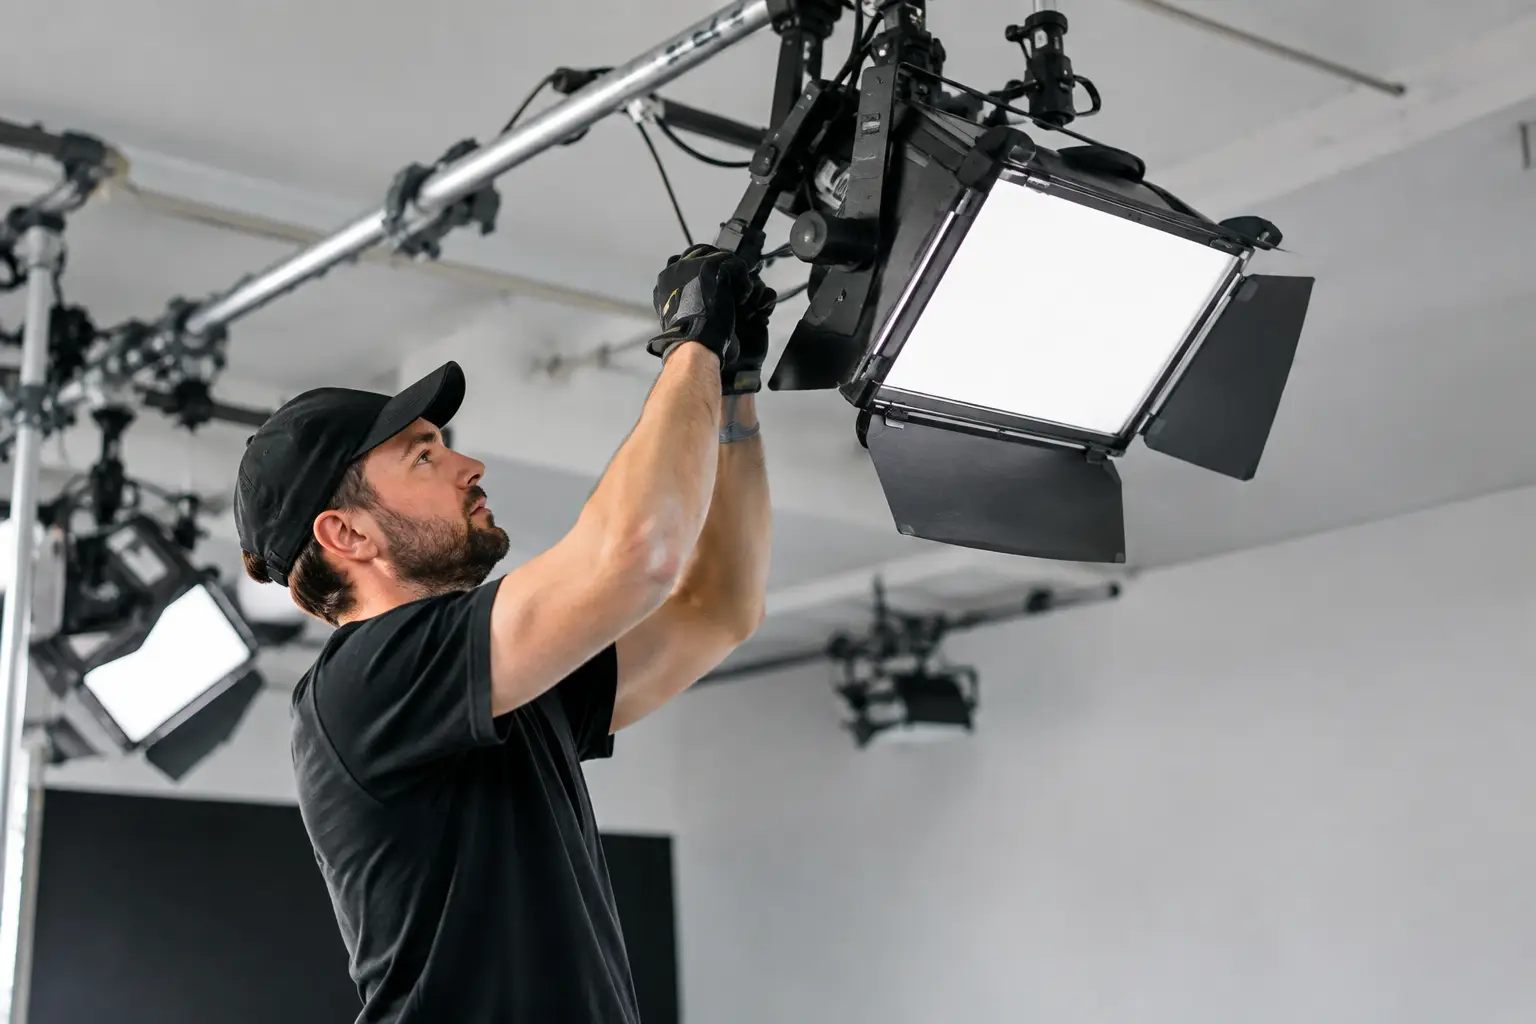
A heavy softbox hanging above talent can transform a frame. It can also become the highest-risk piece of equipment on the shoot if it is hung from the wrong point, secured with the wrong hardware or changed mid-day without proper checks. Knowing how to rig overhead lighting is less about getting a fixture in the air quickly and more about building a safe, repeatable system that protects people, equipment and the production schedule.
For commercial film, photography and branded-content crews, overhead rigging creates cleaner floors, greater freedom for camera movement and more consistent lighting positions. But those benefits only exist when the venue, equipment and crew are suitable for the job.
Start with the structure, not the light
The first question is never whether a clamp fits a pipe. It is whether the point you intend to use is engineered, rated and approved for the load. A purpose-built lighting grid is designed to take controlled production loads at specified points. A ceiling beam, exposed steel member or decorative truss may look capable, but appearance is not a load rating.
Ask the studio or venue for its grid specification before the shoot. You need to know the safe working load of individual points, the load limit for each span or bay, any restrictions on where equipment can be hung, and the approved rigging methods. A grid can have a healthy overall capacity while a local section is still unsuitable for several large fixtures grouped together.
This is where a proper studio differs from a converted room with a high ceiling. Height alone gives you nowhere safe to hang a lamp. An accessible, rated grid gives the crew a workable overhead lighting plan, especially when the brief calls for a large octabank, a row of practicals, diffusion frames or repeatable product-lighting positions.
Build a load plan before anyone climbs
Every item above head height belongs on the load plan: the fixture, yoke, clamp, spigot, receiver, adapter, safety bond, softbox or modifier, cable and any control hardware. Do not estimate based on the weight printed on a lamp body. A large LED with a lantern or softbox can weigh substantially more once fully built.
The person responsible for rigging should calculate the total suspended load at each point and select components with suitable working load limits. The weakest compatible component sets the limit. That may be the clamp, the supplied eye bolt, the grid point, the chain hoist or the adapter between two otherwise rated items.
Avoid concentrating several fixtures into one small area simply because that is where the set is. Spread the load across approved points where the lighting design allows it. If the shot needs a large overhead source, a truss section or suitable spreader arrangement may be required. That decision should be made by a competent rigger, not improvised on set with spare grip.
There is also a difference between a static fixture and a system that moves. A motorised hoist, travelling rig or item that may be adjusted during takes introduces additional forces and requires a more formal approach to equipment selection, inspection and operation.
Choose compatible, rated rigging hardware
Professional overhead rigging relies on hardware designed for overhead use and used within its stated limits. This is not the place for domestic hooks, unmarked carabiners, worn clamps or a convenient piece of rope found in a kit bag.
A typical static lighting build may include a rated clamp or coupler secured to the grid, a correctly sized spigot or receiver, the fixture yoke and a secondary safety bond. Each connection must be compatible with the next. For example, a clamp must suit the diameter and profile of the grid tube, while the safety bond must be rated, short enough to limit a drop and attached to an appropriate secondary point on both the fixture and structure.
The secondary attachment is a safeguard, not a substitute for correct primary rigging. It should not be carrying the fixture in normal operation. Keep the bond clear of sharp edges, moving yokes and hot surfaces, and do not use a cable as a safety.
Before the build, inspect clamps for damaged threads, cracked castings, missing retaining pins and distorted jaws. Check bonds, shackles and connectors for wear, corrosion or altered components. Equipment with an unclear inspection history should not go overhead. In the UK, the exact duties will depend on the equipment and use, but lifting and work equipment requirements, venue rules and documented inspection regimes are all relevant. Use a qualified person where the job falls outside routine lighting installation.
Rig overhead lighting with a controlled workflow
The safest workflow reduces the amount of time people spend underneath a partially completed rig. Establish an exclusion zone below the work area, particularly while fixtures are being raised, positioned or adjusted. Only essential crew should be inside it.
Where possible, pre-build the fixture at floor level. Fit the yoke, modifier mount and required accessories before lifting, provided the combined weight remains within the approved plan and handling method. A compact naked-head fixture may be easy to fly; adding a large softbox after it is in the air can create awkward handling, poor access and an unnecessary fall risk.
Use appropriate access equipment for the height and task. Ladders have a place for brief, low-complexity adjustments, but they are not a general solution for building a substantial overhead rig. A properly operated access platform may be the safer choice when there is sustained work at height, heavy equipment or limited reach. Factor that requirement into the studio booking, access plan and crew call.
Once the fixture is at position, secure the primary attachment, fit the secondary safety, orient the lamp and lock all adjustment points. Then inspect from the floor before anyone enters the area beneath it. The rigger or responsible technician should confirm that the fixture is correctly seated, the clamp is tight to specification, retaining pins are in place and the safety attachment is independent.
Manage power and data above the set
A secure lamp can still create a hazard if its mains, DMX or network cable is left hanging badly. Route cables so they have strain relief and do not take the weight of the fixture. Leave enough service loop for pan, tilt and reasonable adjustment, but not so much that cable can snag a yoke, catch a modifier or hang into shot.
Cable runs need their own support method. Use approved cable ties, saddles or wraps suited to the grid and cable type, rather than attaching everything to a safety bond or draping it across a hot lamp. Keep power separate from sensitive signal lines where practical, and protect connectors from strain.
Heat matters as well. Some fixtures and tungsten heads run hot enough to affect nearby fabric, gels, diffusion and cables. Check clearances against the manufacturer’s guidance, particularly where a lantern, skirt or large soft source is being flown close to the grid. LEDs reduce power draw and heat in many setups, but they are not automatically light, cool or safe to rig without planning.
Check the rig after every meaningful change
Overhead lighting is not a fit-and-forget task. Recheck the installation if a fixture is moved, a modifier is added, the rig takes an impact, a cable is re-routed or the set changes beneath it. The risks often appear when a fast lighting adjustment turns a tidy pre-rig into a more complicated configuration.
A useful pre-shoot check should confirm the following:
- Every suspended item has a rated primary attachment and independent secondary safety.
- The total load and point positions still match the agreed rigging plan.
- Clamps, pins, yokes and locking handles are secure and undamaged.
- Cables have strain relief, safe routing and sufficient clearance from moving or hot parts.
- The area below is clear before raising, lowering or adjusting any flown equipment.
Nominate one person to approve changes to the overhead rig. On a busy set, several well-meaning hands can create a problem quickly. Clear responsibility prevents last-minute additions from bypassing the load plan.
Use the studio to make the lighting plan simpler
A good overhead setup begins before the van is unloaded. Confirm grid height, access routes, available power, house lighting inventory and whether the venue can support pre-rigging. Pre-lighting is particularly valuable on agency shoots, tabletop work and interviews where the lighting must be locked before clients arrive.
At Cineview Studios, high ceilings, a dedicated lighting grid, ground floor access and in-house lighting and grip support can remove much of the friction that comes with building a serious overhead setup in London. The practical advantage is not simply more space. It is the ability to position lighting properly, keep the floor clear and make adjustments without turning the shoot day into a workaround.
If your production needs a complex flown rig, involve the venue and an appropriately competent rigger early. Share the fixture list, modifier weights, planned positions, access requirements and any moving elements. The earlier those details are resolved, the more time the crew has for the part clients actually see: shaping the light, refining the shot and delivering the work without a preventable delay.