

CINEVIEW JOURNAL
Do Your Product Photos Explain Size, Detail and What Is Included?
18/11/2026
A product can look attractive in a photograph while leaving basic questions unanswered. How big is it? What does the fastening look like? Are the accessories in the picture part of the order? Before arranging photo studio hire, turn those questions into specific pictures on your shot list.
The answer is usually a small set of images with different jobs. A clear overall view identifies the item. A detail image explains a feature. A scale or in-use image adds context. A contents image shows the actual package. Choose the combination your product needs rather than taking several similar front views.
Give every image one question to answer
Start with a blank page and write the questions someone might ask before buying. If you already have customer enquiries, use the recurring questions without including customers’ personal information in the shoot brief. Ask the product team to confirm the answers.
For a bag, the questions might concern its overall shape, closure, inside pockets, adjustable strap and supplied accessories. For a small appliance, controls, connections and the included parts may matter more. These are planning examples, not a fixed image count for every product.
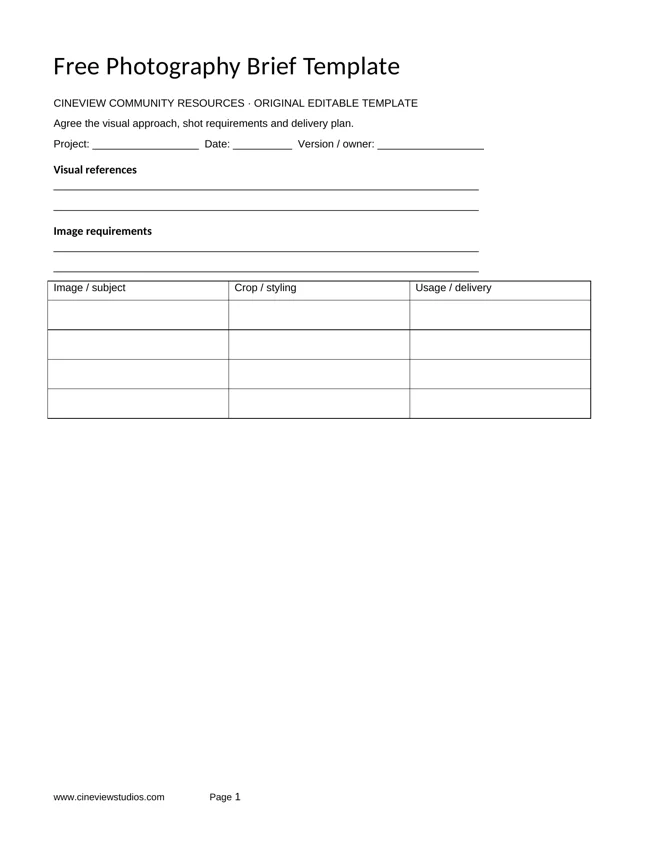
Make a list with four columns: buyer question, required photograph, sample needed and reviewer. That keeps the brief focused on what the image must explain.
Use the overall view to identify the correct item
A packshot is a clear photograph of the product, commonly against a simple background. Choose an angle that shows its recognisable shape and packaging. Keep the correct colour, label and version in view. Do not assume one photograph represents every variation in a range.

Review the picture at the size it will appear in the planned layout. A label that is readable when enlarged may be hard to see in a small thumbnail. Capture a separate detail when that information matters, rather than relying on a reader to zoom into every image.
Use detail views to explain a feature
Ask what the close-up adds. A zip, connector, surface finish or adjustment mechanism can deserve its own frame. Photograph the feature clearly and keep enough surrounding context to show where it belongs.
For example, a close-up of a bag’s buckle might show its shape but not how it attaches to the strap. A second, slightly wider view may answer that question better. Agree what must be visible before building the lighting setup.
A detail image should describe the real sample. Avoid a retouching brief that changes its construction or removes a feature a buyer will receive. If the sample differs from the final product, resolve that with the product team before approving the image.
Show size without making the viewer guess
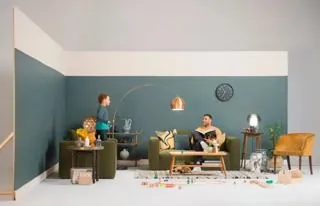
An item photographed alone can be difficult to judge for scale. Consider a suitable in-use view, such as a bag worn by a person or a handled object held naturally. Choose context that genuinely helps explain its intended use.
A context photograph does not replace accurate dimensions in the product information. If the design team wants measurement graphics, give them confirmed measurements and agree where the labels will sit. Leave room in the composition rather than squeezing text over important features later.
For a range comparison, place the actual sizes together in an agreed arrangement. Keep a record of which sample is which so captions and image names remain correct after the shoot.
Keep box contents separate from styling props
Make one clear frame of the items supplied together when contents could be confusing. Check the list against the exact package being photographed. A cable, case or stand borrowed for a styled scene should not quietly become part of that contents image.
Record props separately on the shot list. If several bundles share the same main product, photograph and label each required combination. Ask the person responsible for the product listing to review the final selections before samples are packed away.
Match the studio setup to these image types
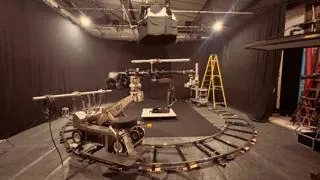
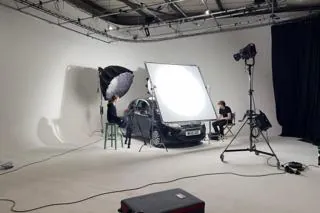
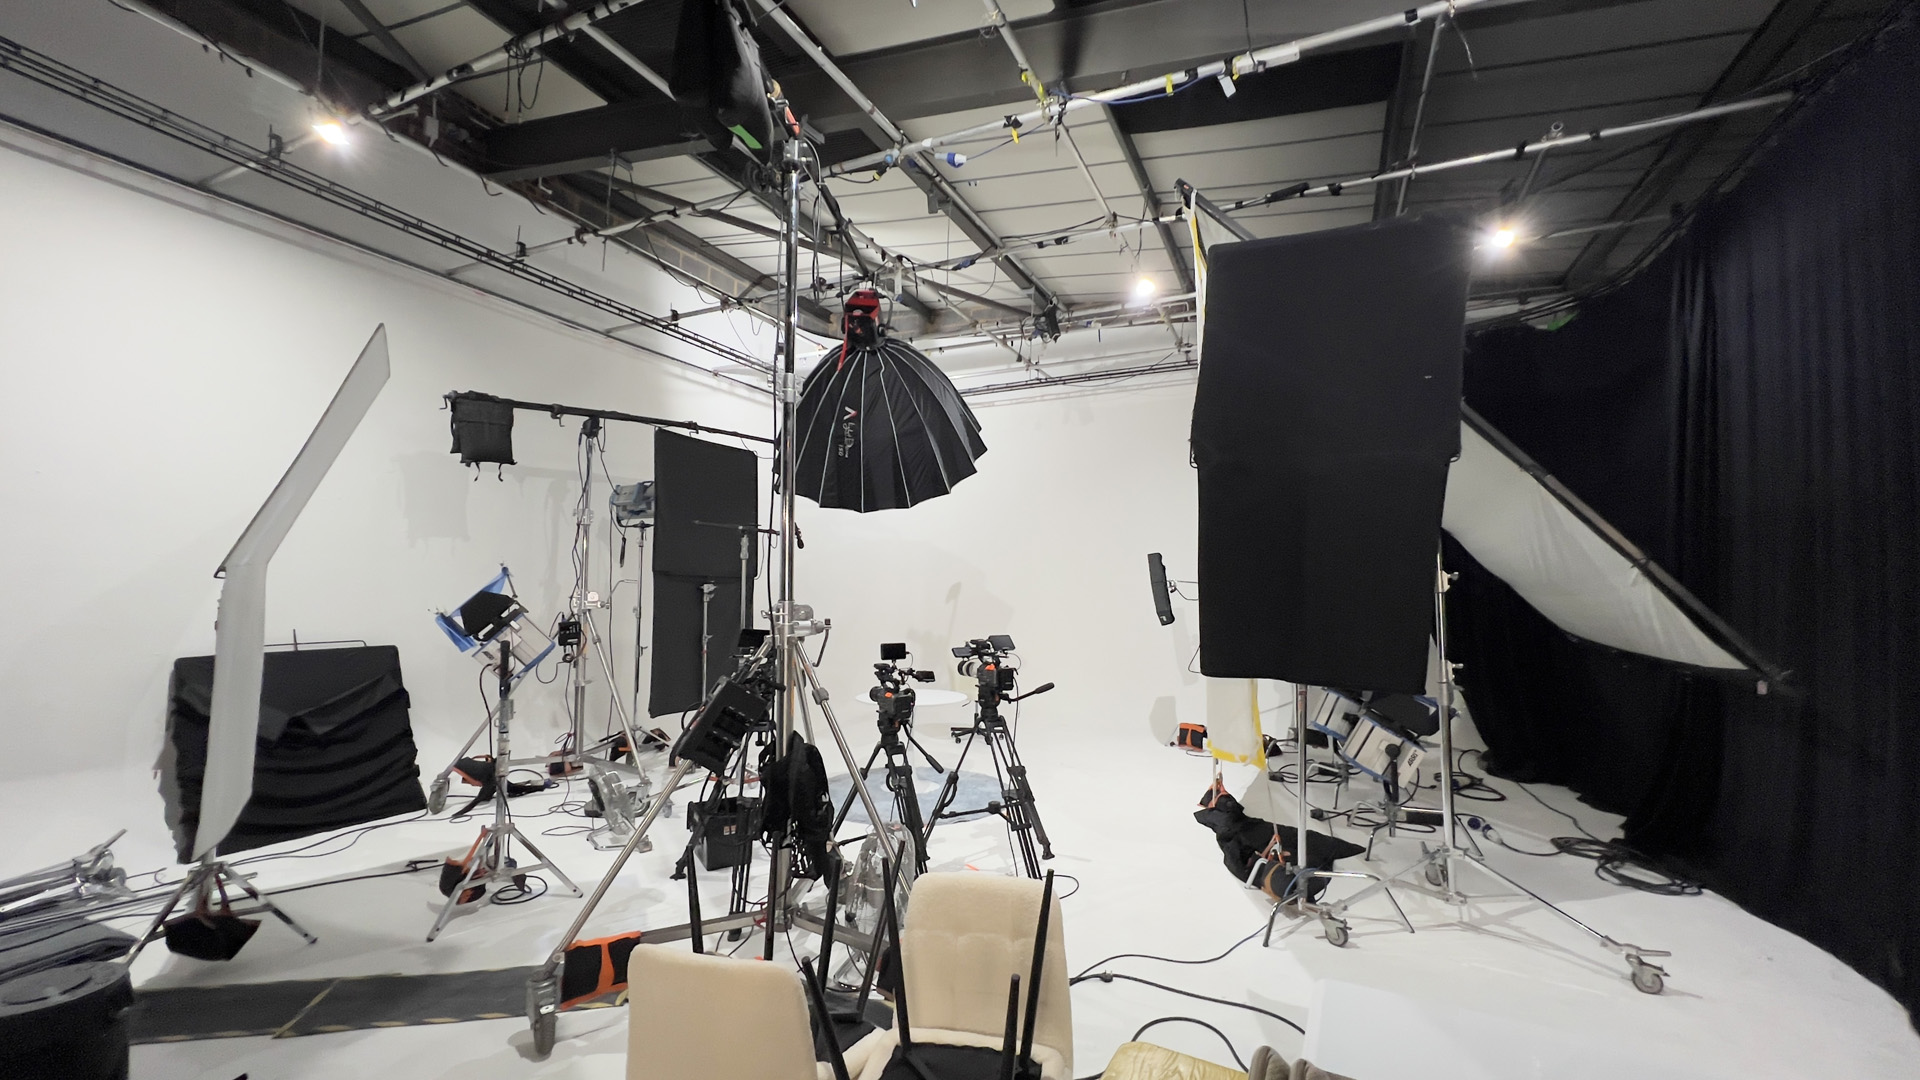
Tell the photographer which views are essential before confirming photography studio hire. Tabletop details, full-length model pictures and group arrangements can need different working space and setup time. Discuss the equipment separately using Cineview’s equipment list; an inventory is not confirmation of inclusion or availability.
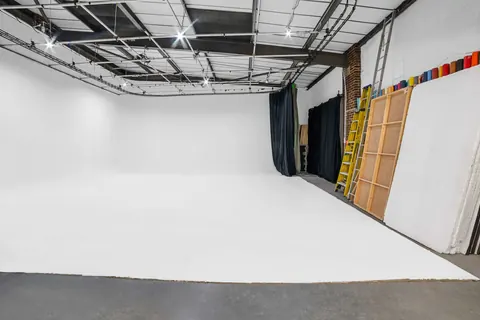
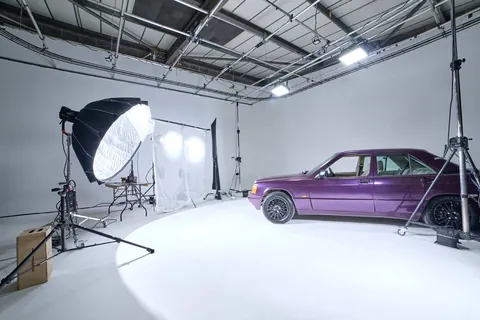
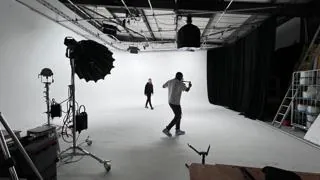
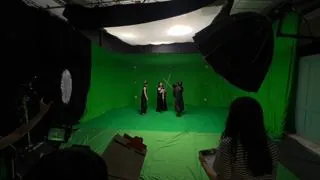
An infinity cove can suit larger seamless-background setups. An infinity cove studio is not automatically necessary for a small packshot. A blackout studio may suit a controlled-light treatment, but blackout studio hire does not by itself supply the photographer, lights or retouching.
If the brief includes demonstration video, discuss film studio hire alongside stills and allow for the changeover. Keep the product facts consistent across both formats.
When comparing photography studio hire London or film studio hire London options, send the image list with your enquiry. Searches for “photo studio near me” and “photography studio near me” help identify convenient locations, but the nearest room may not fit every setup. Compare cheap studio hire against the complete brief, not just the advertised slot. Before you hire photo studio space, make sure your studio hire London quote covers the agreed hours and requirements.
The solution: check the answers before the set comes down
At the final review, place each selected image beside its buyer question. Check the correct item, useful details, size context and actual contents. Replace any picture that looks good but leaves its assigned question unanswered.
For the wider schedule, use our product shoot preparation guide. Then contact Cineview Studios with the product sizes, required views, crew and proposed dates. A question-led brief gives everyone a clearer picture of what the studio day needs to deliver.