
How to Prepare a Product Shoot That Runs on Time
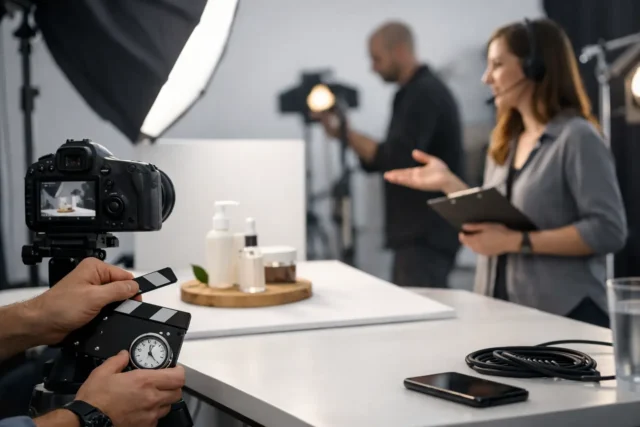
Table of Contents
ToggleA product shoot rarely falls behind because somebody cannot take the photograph. It falls behind because samples arrive late, the art direction is still being debated on set, or the space cannot handle the lighting, crew and kit the job actually requires. Knowing how to prepare a product shoot means resolving those decisions before the first stand is built.
For e-commerce teams, the goal may be clean, repeatable assets at volume. For an agency campaign, it may be a high-impact hero image with complex lighting, set dressing and motion. The principles are the same, but the scale of preparation changes. A well-prepared production protects the creative idea, controls costs and gives the crew enough time to do their best work.
Start with an approval-ready creative brief
A brief that says “premium product imagery” is not enough for a working set. Give the photographer, director, stylist, retoucher and client a shared definition of the required result. This prevents the familiar problem of discovering halfway through the day that the client expected a hard flash look while the crew has built a soft, natural-light setup.
Set out the product range, deliverables, usage, aspect ratios and required crops. Be clear about whether images will be used for a retailer listing, paid social, print, an out-of-home campaign or a website banner. Each channel places different demands on framing, resolution and negative space.
Reference images are useful, but label what is being referenced. Is it the lighting direction, surface texture, prop styling, composition, grade or overall mood? A reference can look simple while depending on a large light source, careful flagging, extensive retouching and several hours of product preparation. Identifying the important element stops the team from chasing an unrealistic version of the image.
Agree who has final approval and when they will review. A client representative who can make decisions on set can save a full reshoot. If they cannot attend, establish a clear sign-off process for test frames, especially where colours, styling or claims on packaging matter.
How to prepare a product shoot around the products
Products are the subject, so treat their delivery and condition as a production task rather than an admin detail. Confirm quantities, variations, barcodes, packaging versions and sample status before booking crew. A beautifully lit shot is still unusable if it features an outdated label or the wrong colourway.
Request more samples than the shot list suggests. Bottles get scratched, garments crease, food wilts and reflective items show every fingerprint. For hero products, having three to five matching units is sensible. Keep one untouched sample aside as a contingency.
Build time into the schedule for product prep. Depending on the category, this can include steaming clothes, cleaning glass, polishing metal, removing price stickers, decanting liquids or assembling products. Cosmetic and food shoots often need a specialist stylist because the camera reveals details that are invisible at normal viewing distance.
Create a product log as items arrive. Record the SKU, colour, size, condition and the shots it is assigned to. This is particularly valuable when dozens of near-identical products are moving between the styling table and set. It also makes it far easier to check that every required variation has been photographed before wrap.
Translate the shot list into a real schedule
A shot list is not a timetable. To produce a workable call sheet, estimate how long every setup will take to build, light, shoot, review and reset. A simple packshot on a consistent background may move quickly once the lighting is locked. A reflective bottle, a styled flat lay or a product scene with hand talent may require far more time than expected.
Group shots by lighting setup, background and lens position rather than by product name alone. Photographing all products that use the same overhead softbox and white sweep is more efficient than rebuilding that setup repeatedly. This is where a production-minded schedule makes a direct difference to your hire and crew costs.
Allow contingency for approvals and technical issues. If the client needs to compare two prop options or a surface finish changes under studio lighting, the schedule needs room for that decision. Rushing the final setups is a false economy, particularly when those assets will front a campaign for months.
For a straightforward product day, the working plan should cover:
- crew call, access and equipment unload;
- pre-light and camera tests;
- product preparation and styling;
- each shooting block with client review points;
- backup, pack-down and final product check.
The most useful schedules show dependencies. If the art director must approve the set before talent arrives, state that. If a product needs to be chilled, steamed or assembled, assign responsibility and timing. Vague ownership is a common source of lost minutes on set.
Choose a studio that supports the setup, not just the image
A compact studio can be perfectly suitable for clean tabletop work, but it becomes restrictive when a product shoot needs large modifiers, motion control, a set build, client seating or a separate prep area. The right space depends on the treatment, not just the size of the product.
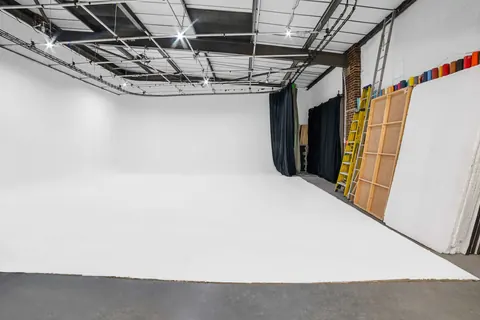
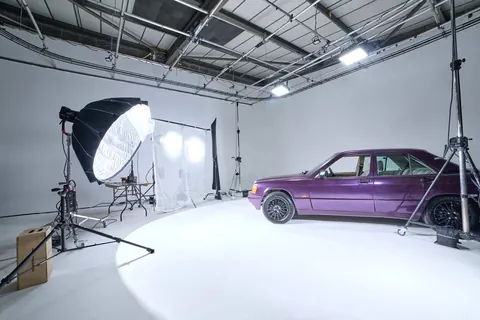
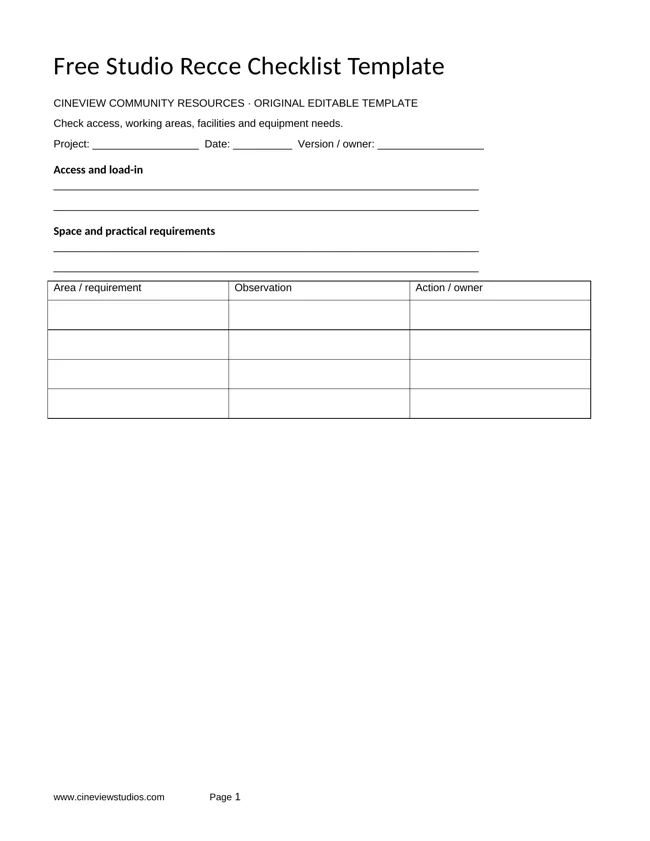
Check ceiling height and the lighting grid if you need overhead lighting, boom arms or a large top-down set. A high ceiling gives the crew more control over fall-off and reflections, while a proper grid keeps stands out of the frame and clear of the working area. For glossy packaging, glassware, cars or chrome products, that control is often the difference between an efficient shoot and hours of fighting unwanted reflections.
Access matters just as much. Confirm whether equipment, props and stock can come straight into the studio through ground-floor shutter access, and whether there is parking for vans. Carrying cases, set materials and product cartons through tight corridors or up stairs takes time, risks damage and can limit what the production is able to build.
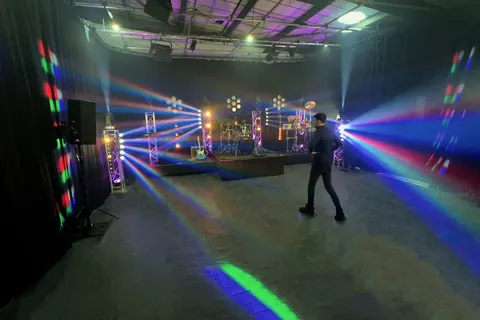
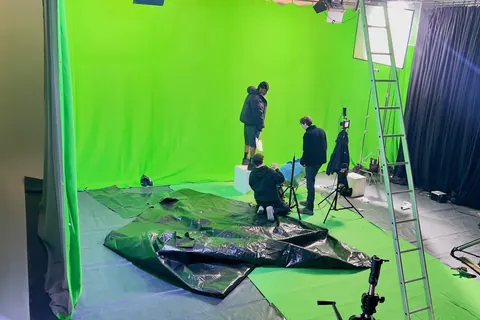
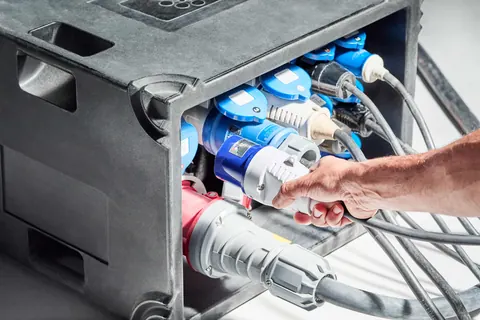
Also establish whether the space can be blacked out, whether there is a clean infinity cove studio, and what lighting and grip equipment is available on site. In-house equipment can reduce transport, hire coordination and last-minute gaps in the kit list. At Cineview Studios, crews can combine a large-scale working area, drive-in access, high ceilings and pre-rigging support when the brief requires more than a small tabletop setup.
Plan lighting, backgrounds and grip before the day
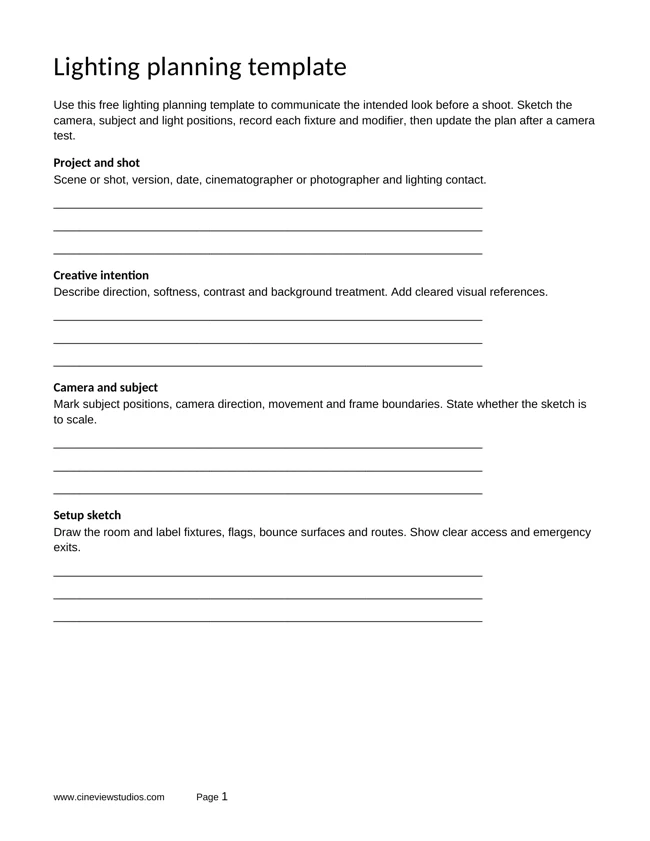
Lighting plans do not need to be overcomplicated, but they should be specific enough for the crew to arrive prepared. Identify the key light direction, desired shadow density, background treatment and any technical challenges. White products on white backgrounds, clear glass, black-on-black packaging and highly reflective surfaces all need deliberate separation and controlled reflections.
A lighting diagram or rough floor plan is worthwhile for any multi-setup day. Mark the camera position, product table, lights, flags, client viewing area and product-prep zone. It helps reveal practical problems early, such as a large softbox blocking the route used to bring products to set.
Backgrounds should be tested against the product, not chosen in isolation. A pale grey surface may make a white product disappear; a coloured paper sweep may cast unwanted colour into metallic packaging. Bring the actual product, or a close sample, to a pre-production test where possible. This is also the right time to check whether the final look is best achieved in camera or completed in retouching.
There is a trade-off here. Building the full effect in camera can create a more convincing result and reduce post-production, but it requires more time, materials and crew skill on the day. A simpler capture with a controlled retouching plan can be more efficient for high-volume asset production. Decide which route serves the deliverables and budget before committing to either.
Prepare the people and the technical workflow
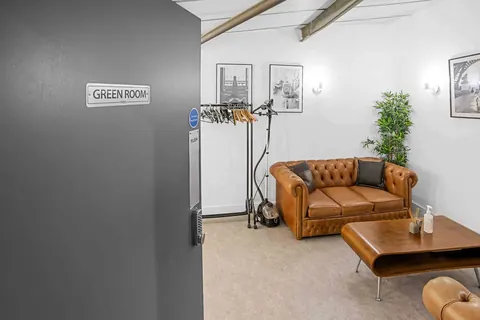
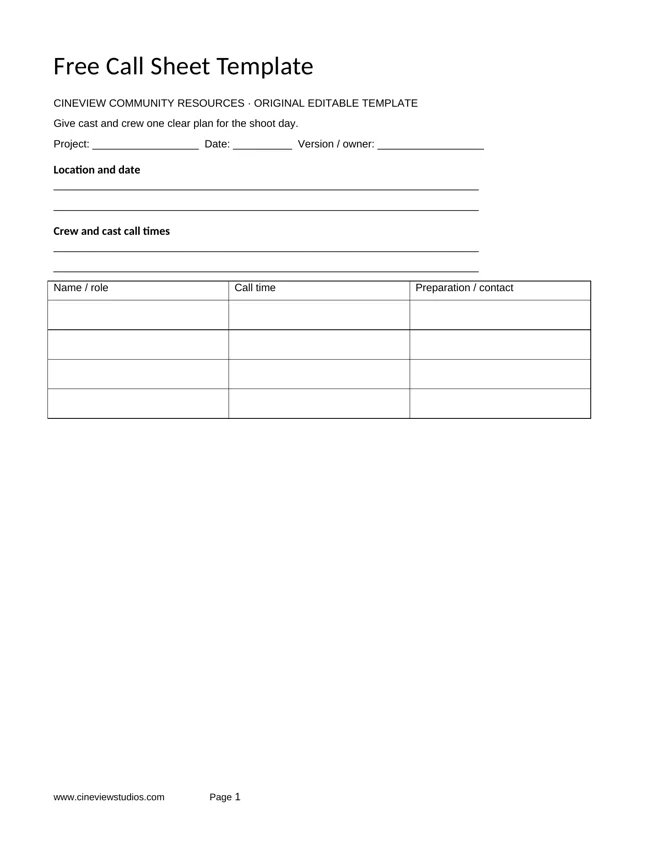
Send a call sheet that includes the full address, access instructions, parking arrangements, contact numbers, timings, crew roles and emergency information. If talent is involved, include wardrobe requirements, changing arrangements and expected arrival times. A professional shoot runs better when nobody is guessing where to go or who can approve a decision.
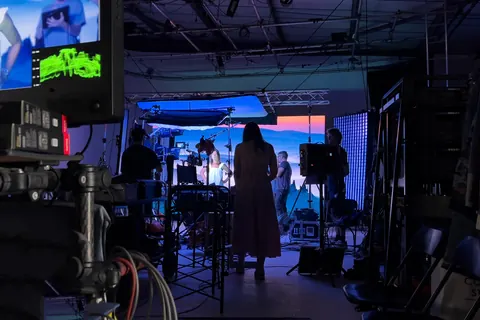
Confirm camera, lens, tethering and backup requirements with the photographer or digital operator. Tethered capture is particularly useful for product work because the client can assess focus, dust, colour and composition on a larger screen. It does, however, need a reliable workstation, appropriate cables, power and a file-naming system that will not create confusion later.
Agree the colour workflow before shooting. If accurate brand colours are essential, use calibrated displays, a colour target and a clear retouching brief. For packaging with legal copy or specific product claims, capture readable detail frames as well as the hero imagery. These may not be the glamorous shots, but they can prevent a costly return to studio.
Back up images during the day, not only at the end. A sensible approach is to maintain at least two copies on separate drives, with one managed by the digital operator or photographer. Before pack-down, check the shot list against the captures, confirm final approvals and make sure all products are accounted for.
The strongest product shoots feel calm because the hard decisions were made beforehand. Give the team a clear brief, enough room to work, reliable access and a schedule based on real setup time. Then the studio day can focus on what clients are paying for: sharp, consistent imagery that makes the product look worth choosing.