Cineview community resources · Free download
Free Lighting Planning Template
Use this free lighting planning template to communicate the intended look before a shoot. Sketch the camera, subject and light positions, record each fixture and modifier, then update the plan after a camera test.
No sign-up required. Edit the Word document in Microsoft Word or Apple Pages.
See the worked example ↓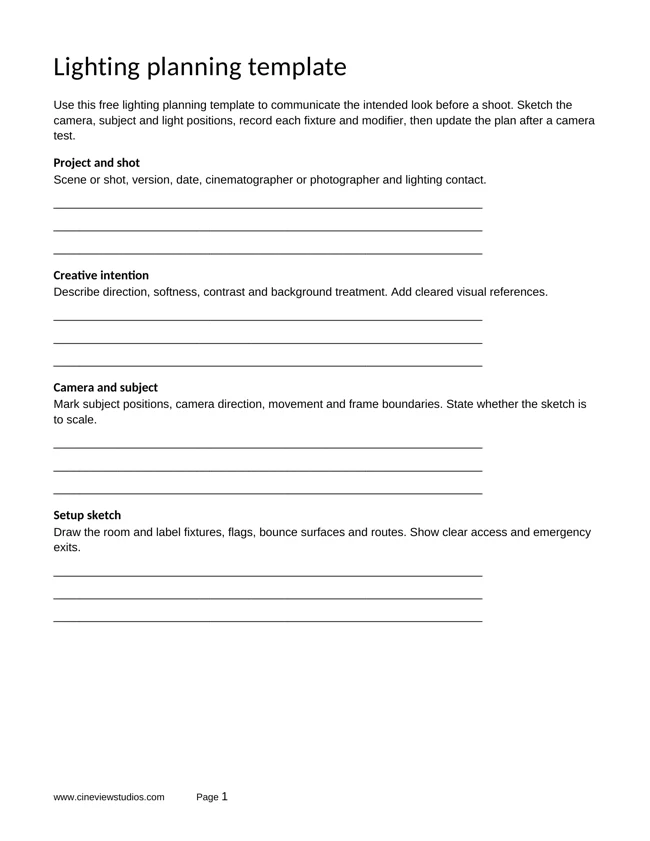
Your planning document, ready to use
How to use your free lighting planning template
Step 1
Start with the frame
Choose the camera and subject positions before placing lights. Show movement and the area seen by the lens.
Step 2
Give fixtures clear IDs
Use the same IDs in the sketch and equipment notes. Record modifiers and colour settings, not just the fixture name.
Step 3
Test and revise
Approve the look in camera, then save the final plan. Ask competent crew to check the practical setup and power needs.
What is in the download?
Complete the blank planning pages, compare the worked example and use the guidance to prepare your next version. Duplicate response sections when the project needs more detail.
Lighting planning template
- Project and shot
- Creative intention
- Camera and subject
- Setup sketch
Fixture log and camera test
- Fixture record
- Camera test
- Changes and continuity
- Crew and safety review
Planning in practice
A worked example
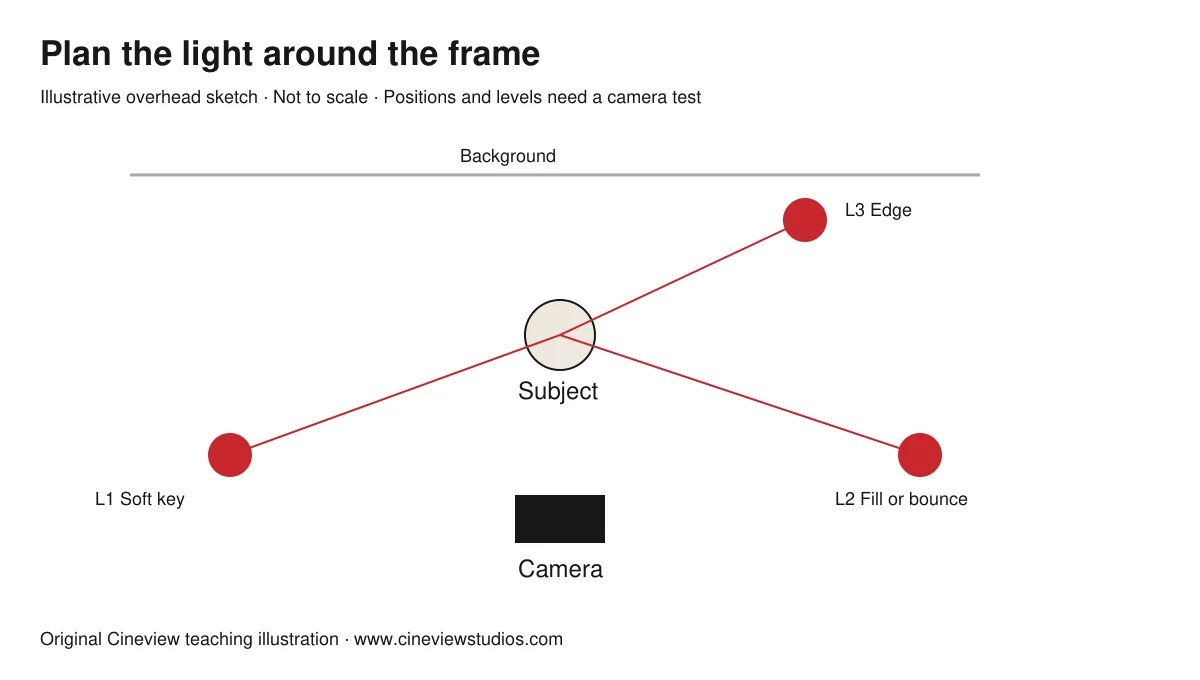
This original fictional teaching example shows how planning choices connect. Adapt it to your own brief; it does not describe a commissioned or completed Cineview client production.
Key
Place a soft key to one side of the camera to shape the subject. Adjust its position and level after a camera test.
Fill
Use a controlled bounce or another source to manage the shadow side. Choose contrast for the brief rather than a fixed dimmer percentage.
Separation
If useful, place a controlled source behind the subject for an edge. Check for flare and spill into the lens.
Continuity
Record final positions, modifiers and camera settings. The illustration is a teaching sketch, not a rigging or electrical specification.
Watch and compare
Video Lighting Techniques — Nailing that Cinematic Look (with a Fill Light)
Reference video from StudioBinder. Use it as another perspective alongside the worksheet. Publisher views are their own, and inclusion does not imply endorsement.
The video loads from YouTube only when you choose to load it. YouTube’s privacy and terms then apply.
Watch on YouTube ↗Further reading: StudioBinder three-point lighting guide
Questions before you start
Does this prescribe a lighting ratio?
No. The right contrast depends on the subject and brief. Fixture dimmer percentages do not directly measure illumination on the subject.
Can I use it for still photography?
Yes. Record flash settings and trigger information where appropriate, and remove video-only fields.
Is it a risk assessment or rigging plan?
No. It is a creative planning worksheet. The practical setup needs its own competent electrical, support and rigging checks.
Can I edit the file in Apple Pages?
Yes. Open the downloaded .docx file in Apple Pages and adapt it to your project. The download is a Word file rather than a native .pages file.
Keep planning your production
Free PDF and Word
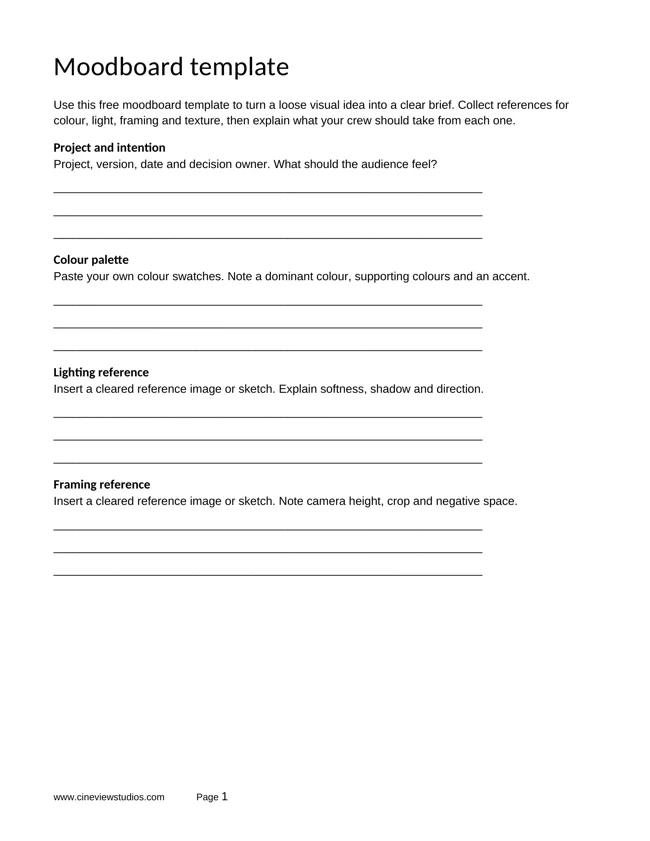
Free Moodboard Template
Download a free moodboard template in PDF and Word. Plan colour, lighting, framing and textures for film and photography with a worked example.
Get the free template ↗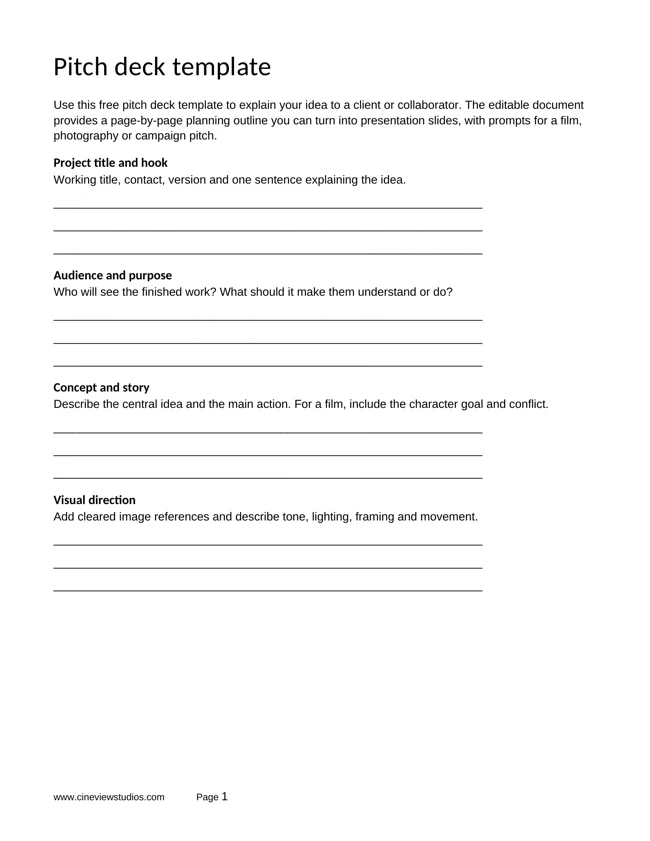
Free PDF and Word
Free Pitch Deck Template
Download a free pitch deck template in PDF and Word for film and photography projects. Develop the concept, visual approach, deliverables and clear next step.
Get the free template ↗Free storytelling templates
Develop the character goal, scene connections and structure behind your next film idea.
Explore story worksheets ↗Plan your shoot at Cineview Studios
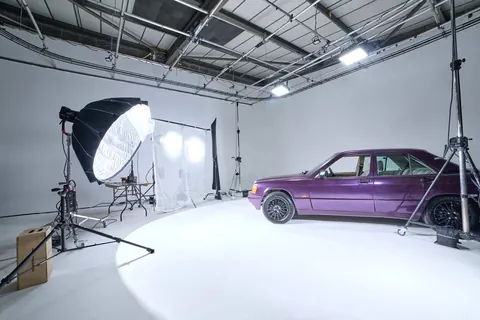
Explore film studio hire and photography studio hire, compare the equipment list and discuss your setup with the studio. Your planning documents are optional to share with Cineview; contact us with the space, dates and equipment you need.
Send this free resource to a colleague, your production team or a WhatsApp group.
Use and attribution
You may adapt our original worksheets for your own production planning. Keep the website credit when sharing an unchanged template. These educational resources are not legal, financial or safety advice. Film titles, story frameworks and third-party videos belong to their respective rights holders. Cineview Studios is not affiliated with those publishers, and inclusion does not imply endorsement.
References are provided so you can compare approaches and form your own view. Check the rights to any photographs, scripts, music or other material you put in a production. Protect personal information when sharing crew and cast documents.