How to Build Temporary Sets for Studio Shoots
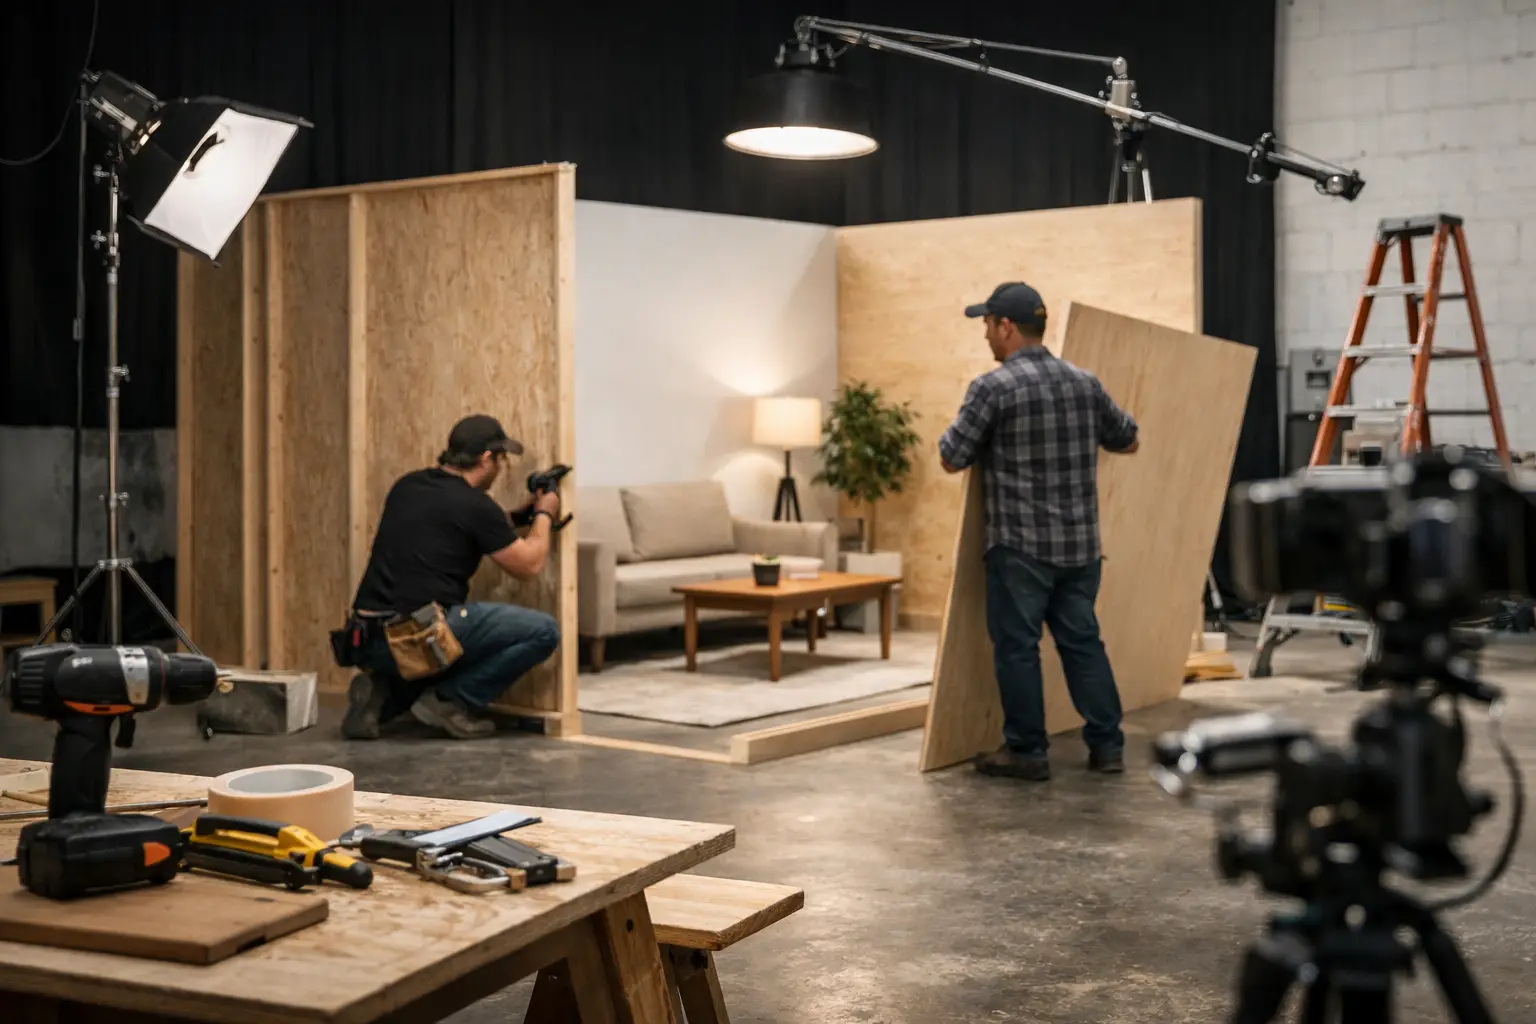
A temporary set has to do more than look convincing on camera. It must arrive through the door without drama, stand securely under lighting and crew traffic, accommodate camera positions, and come down on time without leaving a damaged studio behind. That is the real answer to how to build temporary sets for commercial shoots: treat the build as a production system, not a decorative afterthought.
For a tabletop content day, that system may be a pair of flats and a painted plinth. For a campaign film, it may be a full domestic interior, retail environment or stylised world built around a moving camera. The scale changes, but the fundamentals do not. Good temporary sets are designed around access, structure, lighting, safety and derigging from the first sketch.
Start with the camera, not the construction
Before ordering timber or briefing a scenic team, establish exactly what the camera needs to see. A set that looks complete to the eye can be unnecessarily expensive if only one 30-degree angle is ever filmed. Equally, a beautiful front-facing build can fail the moment a director asks for a side profile, a wider lens or a reverse shot.
Confirm the shot list, lens range, camera height, intended movement and whether the floor will appear in frame. Identify practical requirements early: opening doors, working taps, moving furniture, a vehicle entrance, product access or space for talent changes. These decisions determine which walls need to be built, how deep the set must be and where removable sections will save the day.
Build only what the frame demands, but do not underbuild the working area. Crew still need room for stands, operators, sound, monitors and safe routes around the set. A set that fills every available metre may look ambitious on a plan yet become slow and restrictive on a live shoot.
Plan the false perspective deliberately
Temporary sets are often most effective when they use controlled illusion. A shallow room can read as a full interior if sightlines are managed, ceilings are kept out of frame and returns are positioned intelligently. Forced perspective, printed views, partial walls and dressed foreground elements can all create scale without consuming budget or studio floor space.
The trade-off is flexibility. A highly optimised one-angle set is efficient, but it gives the director less freedom on the day. If client approvals are still evolving, allow for a wider shooting arc and removable walls rather than designing a set that only works from one mark.
Choose a studio that supports temporary set builds
The venue can either support the build or become its biggest constraint. Many central London studios are fine for a clean portrait setup but struggle once flats, joinery, scenic materials, cases and crew start arriving. Narrow access, low ceilings, limited loading times and paid parking quickly turn a straightforward build into an expensive logistical exercise.
Look for ground-floor shutter access, sufficient ceiling height, a lighting grid and enough clear floor area to separate the build zone from the shooting zone. Drive-in access matters when the brief includes a car, large props or frequent deliveries. Free parking and 24/7 availability can also protect the schedule, particularly when construction, pre-light and filming need to happen across different shifts.
At Cineview Studios, these practical details are built into the proposition: large-scale ground-floor access, high ceilings, a lighting grid, blackout capability and a space designed to accommodate set construction alongside serious photo and film production. That matters because a studio should reduce compromises, not add them.
Build the structure for speed and repeatability
For most temporary builds, modular construction is the sensible starting point. Standard flats, reusable door units, deck sections and adaptable plinths can be reconfigured faster than bespoke structures, with fewer materials sent to waste. They also make it easier to replace a damaged panel or alter a layout during pre-light.
Timber stud framing remains useful for one-off walls and heavier scenic applications, but it needs a clear plan for ballast, bracing and fixing. Do not assume a wall is stable because it looks substantial. Any freestanding element must be designed to resist accidental contact, cable pulls, wind from fans or open doors, and the general movement of a busy crew.
Where possible, keep fixings reversible. Screws, cleats, stage weights and purpose-built braces are usually preferable to methods that mark floors, walls or cyc surfaces. If something genuinely needs to be fixed to the studio fabric, get approval in writing before work begins. A cost-saving shortcut during the build can become an avoidable reinstatement charge at wrap.
Make every hidden surface earn its place
The back of a set may never be photographed, but it still affects the production. Leave service gaps where cables need to run. Build access panels for practical lights or plumbing effects. Keep sightlines from video village in mind. If a wall may need to fly out for a wider shot, make the connection method quick and repeatable rather than relying on improvised fixes.
It is also worth marking wall positions, deck joins and furniture footprints on the floor plan and, where permitted, on the studio floor with removable tape. This makes resets faster and avoids debate when a client asks to return to the approved composition.
Design temporary sets around lighting and sound
A set build and a lighting plan should never be separate conversations. Before construction starts, confirm where key lights, overhead rigging, practicals and negative fill will go. A wall positioned too close to the grid may prevent the angle you need. A ceiling piece can create unwanted shadow lines. Gloss finishes can turn every light source into a reflection problem.
Use the studio’s height and grid to your advantage. Pre-rigging overhead fixtures keeps the floor clearer, improves sightlines and makes lighting adjustments more controlled. It also reduces the temptation to squeeze stands into unsuitable positions around the set.
Consider sound as well, especially for dialogue, interviews or sync action. Hard temporary walls, untreated floors and empty cavities can create reflections and rattles. Add discreet soft treatment outside the frame, secure loose scenic elements and test practical doors, drawers and flooring before talent arrives. A set that photographs well but sounds unusable is not production-ready.
Finish for the lens, not just the recce
Scenic paint, texture and dressing need to be assessed under the actual shooting conditions. What reads as a soft neutral in daylight may shift under tungsten, LED or coloured lighting. Test paint samples under the intended fixtures and camera profile before committing to a full wall. Matt finishes are usually more forgiving than high-sheen surfaces, but a controlled gloss may be exactly right for a premium product image.
Scale is another common issue. Domestic wallpaper patterns, tile lines and wood grain can look oversized on camera, while real furniture can make a compact set feel cramped. Bring hero props and a camera to the build review whenever possible. A quick lens test reveals proportion, reflections and unwanted gaps far better than a moodboard does.
Dressing should support the story without obstructing operation. Keep hero items repeatable, photograph continuity references and have spares for anything fragile, consumable or likely to move between takes. For food, liquids, breakaways and messy effects, protect the studio floor and agree the clean-up process before the first take.
Safety, scheduling and budget control
Temporary does not mean informal. A competent build requires a clear method of work, suitable tools, safe electrical practice and sensible segregation between construction activity and other studio users. Manage dust, paint fumes, cutting and waste properly. Keep fire exits, access routes and electrical distribution clear throughout, not only when the set is finished.
The most cost-effective builds are not always the cheapest to construct. A low-cost set that takes too long to load in, cannot be lit properly or needs rebuilding after a client change will cost more in crew hours than a better-planned option. Budget for access, build labour, scenic finishes, transport, consumables, contingency and derigging from the outset.
Schedule a proper handover between the art department, gaffer, camera team and production. This is where unresolved issues emerge: a wall blocks a track, a practical has no power route, a ceiling feature conflicts with the boom, or a doorway is too narrow for the product. Finding those problems before call time protects both the creative and the budget.
Derig as carefully as you build
A clean derig begins during construction. Keep material offcuts sorted, retain reusable components and avoid burying fixings beneath layers of scenic work. Assign responsibility for waste, recycling, cleaning and returning the studio to its agreed condition.
Photograph the space before load-in and after reinstatement. Check for paint marks, tape residue, damaged surfaces and abandoned cable runs before the final crew leaves. It is a small discipline that prevents disputes and makes the next production easier.
The strongest temporary sets are not the ones with the most timber or the biggest art department spend. They are the sets that give the camera exactly what it needs, give the crew room to work, and disappear efficiently once the final shot is in the can.