When Should You Use Green Screen on a Shoot?
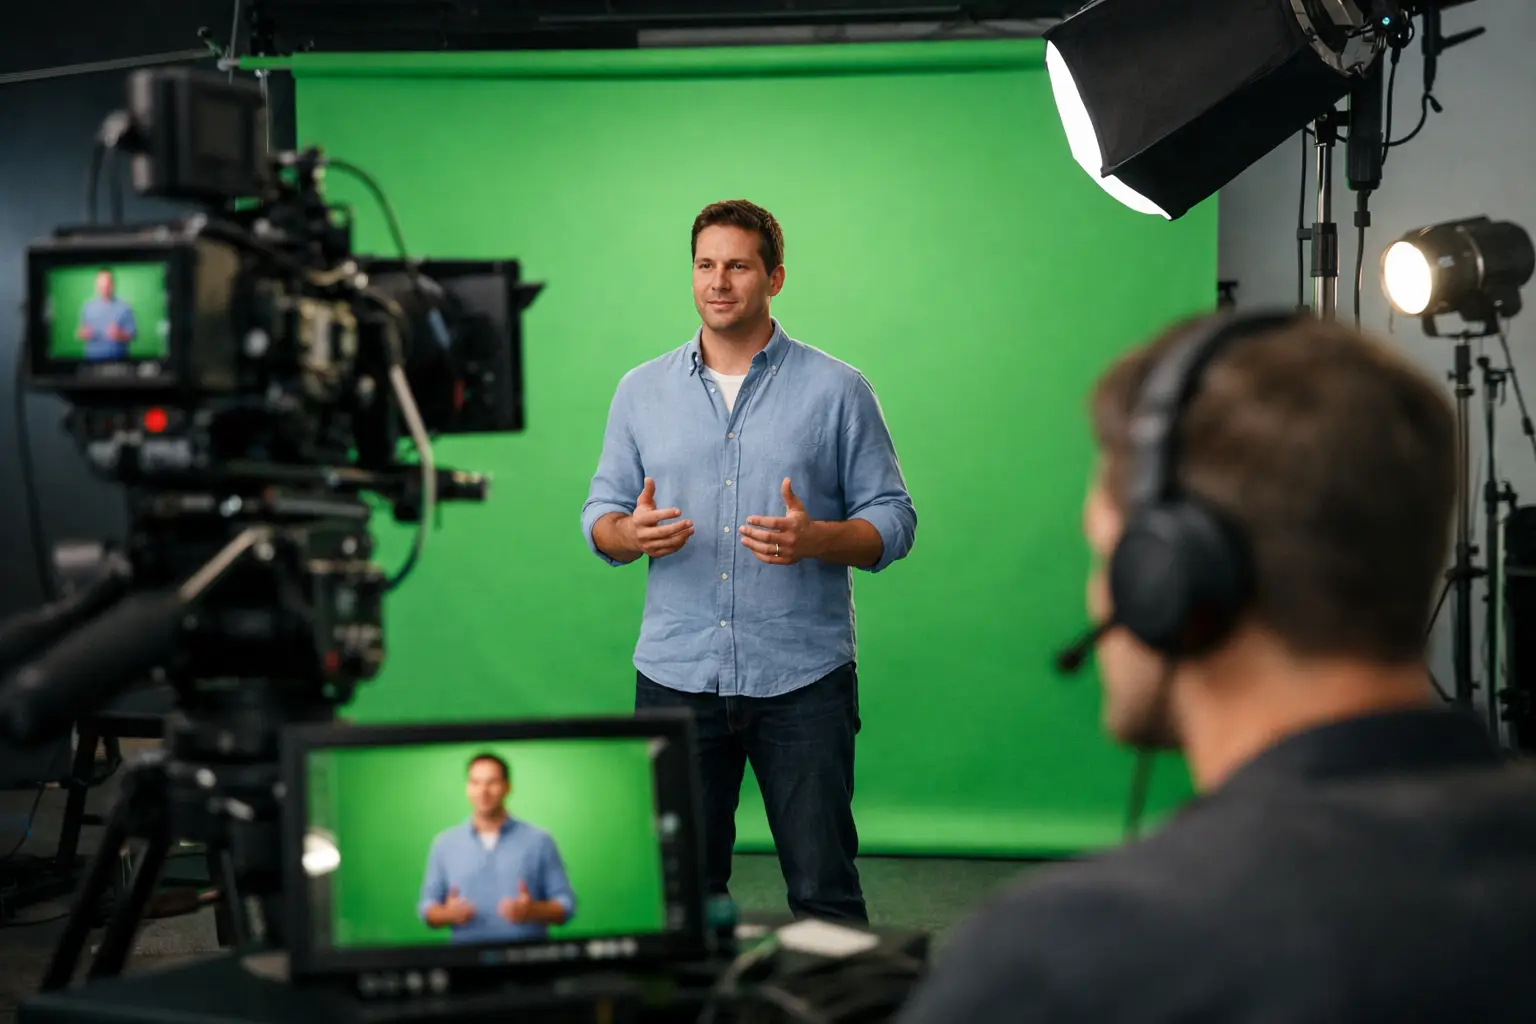
A green screen is not a shortcut to making any shoot look bigger. It is a production decision that shifts work from the physical set to post-production. So, when should you use green screen? Use it when the background, environment or visual effect cannot be filmed practically, would be too expensive to build, or needs to change after the shoot without reshooting the subject.
For commercials, branded content, music videos and product campaigns, that flexibility can be commercially valuable. But a poor key, uncontrolled spill or a lighting plan that ignores the final composite can create more cost than it saves. The right question is not whether green screen is available. It is whether it gives the production more control than a real location, printed backdrop, set build or virtual production solution.
When should you use green screen?
Green screen earns its place when foreground and background need to be created separately. That may mean placing talent in a location that is inaccessible, unsafe or simply beyond the budget. It may mean creating several campaign versions from one shoot day, with different destinations, seasonal settings or localised messaging. It may also mean shooting a presenter, product or vehicle element against a controlled background before adding graphics, CGI or a designed environment.
It is particularly effective when the final background is known in advance and the crew can plan the camera, lighting and talent movement around it. A presenter talking to camera with an animated data wall behind them is a straightforward example. So is a beauty campaign where the art direction calls for an impossible landscape, or a music video that needs rapid changes of scale and environment.
The commercial advantage is clear: rather than move a full crew between locations or build multiple sets, you can keep the foreground unit in one controlled space. That reduces travel, weather risk and lost time. It can also make pickups easier, provided the original lighting, lensing and camera position are properly documented.
Use it for backgrounds that need to change
Green screen works well where the same performance, product shot or interview needs more than one final setting. A brand might require a version for a retail campaign, social cut-downs and international markets, each with different visual messaging. Filming the subject once and replacing the background in post can be more efficient than repeating the shoot.
This is not just a design choice. It gives creative teams time to refine background assets after the shoot, while preserving the approved performance. For agencies working against a tight approval process, that separation can prevent expensive reshoots.
Use it for impractical or restricted locations
Some locations cannot accommodate a production crew, a lighting package, client attendance or repeated takes. Others bring permission costs, noise, weather exposure and limited access. If the scene is set in a rooftop, airport, stadium, industrial facility or extreme landscape, green screen can offer a safer and more controllable route.
That said, the composite must hold up to the intended camera work. A locked-off medium shot is forgiving. Handheld movement, hair detail, reflective wardrobe and interaction with the environment require a higher level of planning and post-production work.
Use it for visual effects and controlled product work
Green screen is often the most practical option when live-action footage needs to interact with CGI, motion graphics or digital environments. It gives compositors a clean way to isolate the subject, provided there is enough separation between the talent and the screen.
For products, it can be useful where a packshot needs to sit in a digitally created world or where multiple visual routes are being tested. However, shiny packaging, glass, chrome and transparent objects are rarely simple green-screen subjects. They reflect the green surface and can demand significant clean-up. In those cases, a black or white controlled set, careful roto work or a purpose-built practical environment may be the smarter choice.
When green screen is the wrong tool
A green screen cannot replace the physical cues that make a scene believable. If talent need to touch a wall, walk through long grass, react to changing sunlight or cast complex shadows across furniture, a practical set may deliver a better result with less post-production risk.
It can also be the wrong choice where the background is a simple, achievable location. If the desired result is a clean studio portrait, a textured wall or a straightforward office interior, filming it for real often looks more natural and may cost less overall. The screen itself is inexpensive compared with the specialist crew time required to key, track, colour-match and composite every shot.
Avoid green screen where wardrobe, props or products contain the same green hue. A green garment does not merely cause a minor issue: it disappears into the keyed area. Fine materials such as lace, feathers and translucent fabric can be managed, but they need a deliberate test and a post-production budget that reflects the work involved.
Plan the shot for the composite, not just the screen
The most convincing green-screen work starts before the camera rolls. Your final background should inform the lens choice, camera height, movement, lighting direction and depth of field. Shooting a subject at eye level against a green wall, then placing them into a dramatic low-angle cityscape, will look wrong even if the key is technically clean.
Start by agreeing the final environment or at least a detailed visual reference. The director of photography and post team need to know where the key light appears to come from, how hard the shadows should be, what colour temperature the environment has and whether the camera will move. A rough background comp on a monitor helps talent understand their eyeline and gives clients a realistic view of the intended result.
Leave physical space between the subject and the green screen. This reduces green spill on skin, hair and wardrobe, and makes it easier to light the foreground independently. For a full-body shot, that gap is especially important. It also helps prevent hard shadows falling across the screen.
Light the green evenly, then light the subject properly
The screen needs even exposure, but it does not need to be blasted with light. Overlighting can increase spill and create hot spots that make keying more difficult. Use separate fixtures and control them carefully so the green surface is consistent across the frame.
Then light talent or product as though the green screen is not there. Match the direction, contrast and colour of the intended background. If the final scene is a low, warm evening sun, a flat front-lit subject will not sit naturally within it. Add appropriate edge light where needed, but watch for green contamination on the side facing the screen.
A studio with sufficient ceiling height, a proper lighting grid and room to pull the subject away from the backing makes this far easier than working in a cramped space. At Cineview Studios, the combination of a dedicated green-screen area, blackout control, ground-floor access and in-house lighting and grip support gives crews practical room to build a controlled setup rather than compromise the shot.
Give post-production the information it needs
A clean plate is essential: record the green-screen frame without talent, props or moving elements. Capture reference stills for lighting, lenses and colour, and note the camera height, distance and settings. If camera movement is involved, include tracking markers where appropriate, but keep them positioned so they do not interfere with the subject.
For shots involving reflective products, smoke, wind machines or motion-blurred hair, test before the main shoot. A five-minute proof of concept can reveal whether the approach is viable and prevent a day of footage becoming a costly post-production problem.
Choose the right green-screen setup for the shot
A small backdrop is adequate for seated interviews, headshots and contained product content. Full-body performance, wide commercial frames and moving-camera work demand more surface area, more distance and more rigging flexibility. Do not book a space based solely on the dimensions of the screen. Factor in where the camera, lights, flags, crew, client and kit need to sit.
For larger productions, drive-in access and ground-floor loading can matter as much as the green screen itself. If you are bringing in a vehicle, oversized product, set pieces or a substantial lighting package, difficult access quickly erodes the apparent saving of a cheaper hire.
The same principle applies to time. A green-screen day needs setup, lighting tests, screen checks and potentially pre-rigging. Building that into the schedule is more efficient than rushing into the first take and discovering spill or tracking issues once the crew has wrapped.
Green screen is at its best when it is treated as a planned production method, not an emergency background. Give the foreground enough space, match the lighting to the final world and involve post-production early. Done properly, it can turn one controlled shoot day into a campaign with far more reach than a practical location alone could offer.